All You Need To Know About Chip Carving
Tips and TricksWood carving IdeasWood Carving Projects 22.11.2019 Jeff Richardson 0
Introduction
Nothing is more interesting than slicing out chips of wood and making an attractive wood piece in just a few hours, according to my experience. What I am going to introduce to you in this article is a whole concept about chip carving, and that is also in the easiest way to get you throughout the journey. Hope you enjoy your day, we’ve got really nice day in the woods 🙂

So, let’s get started. Chip Carving is not limited to any specific definition. To be honest, I learned it after breaking the so-called rules. But, it will take a long way for you to become a professional if you follow my path of breaking rules. So, instead, learn from my experiences and follow a somewhat easy process to get you right there!
Always think of the task as your initial project in woodcarving. This is what I was passionate about and started with making intricate details (that might use some sanding to get perfect), mostly on basswood, and became happy about seeing my success after some time. BeaverCraft Wood Carving Tools can help you with this. It’s not going to be perfect, especially when you are beginning, so ignore the limitations and proceed with the flow. Wood glue is a helpful tool for you to work with your patterns and be thorough with them. In this article, we’ll start by learning about the concept and then, graduate on buying the best chip carving tools. Chisels can also come in handy.
I would also like to mention the chip carving photo gallery with finished projects contained in this article as an extended help from my side.
Read My Chip Carving Guide For Beginners
First, you need to become a learner and then proceed with the practical process. It ensures you to start carving right after reading this guide. So, get through my specifically designed chip carving guide!
What is Chip Carving?
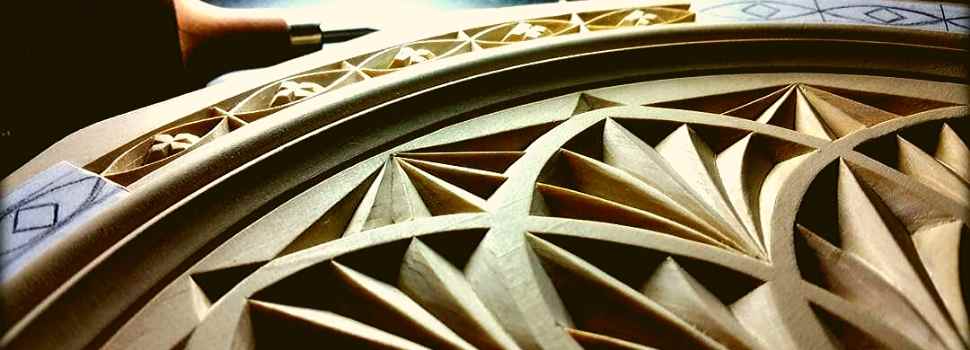
When small and patterned chips are removed from a surface of wood with some special tools, the process is basically known as chip carving. You can go with knives, chisels or other chip carving tools used in a specific manner to carve a normal piece of wood into a decorative one.
In theory, chip carving has two stages: the wood surface and its inner layer. All the process followed is done to reveal that inner layer.
You Would Need These Chip Carving Tools To Get Started
The tools given below are essential as well as enough to go for chip carving. Having these tools can help you to have a better experience in the field.
Chip Carving Knives
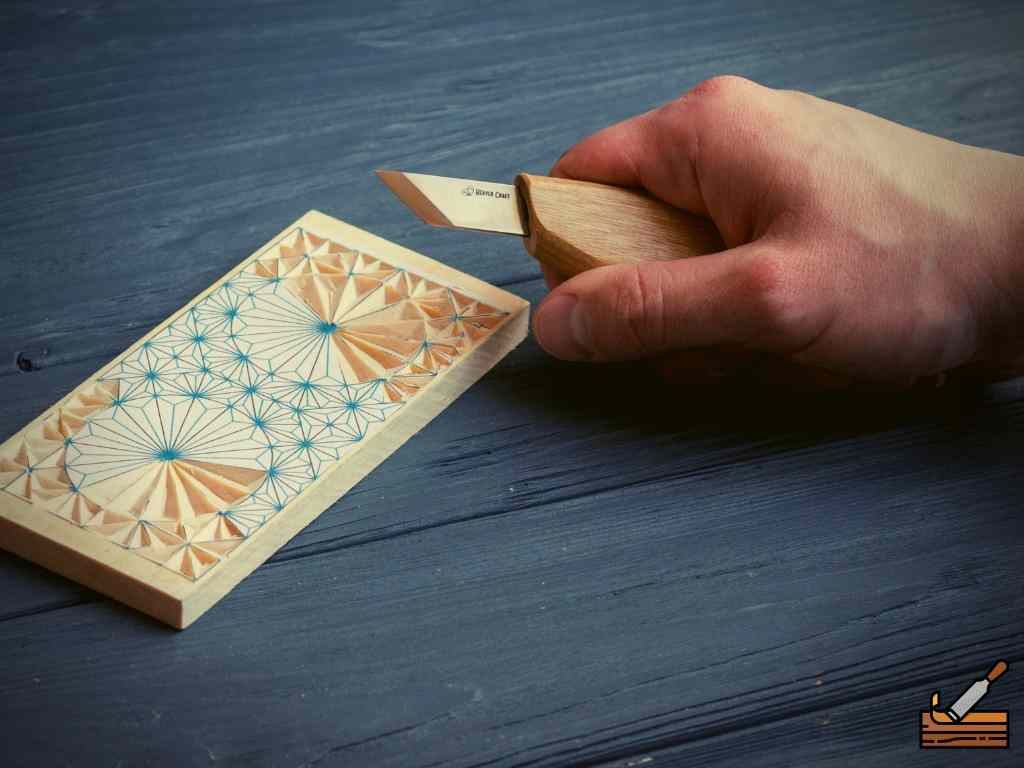
Knives are the primary tools without which you can’t even proceed with a single step. Their blades will help you to get desired cuts and carvings over the wooden surface. Moreover, you should find out specific knives for chip carving as it is going to be a very detailed task and thus needs a knife with a comfortable grip and razor-sharp blade. You can have detail knives or stab knives for the purpose. All of them have in common a small blade.
Stab knives are made with straight-edge blades. Detail knives are somewhat similar except that they penetrate much deep into the surface comparatively. On the other hand, pocket knives are utility knives made specifically for the purpose of mobility and are usually inexpensive. For grabbing budget-friendly and effective deals, check out these best chip carving knives as my favorites.
Sharpening Supplies
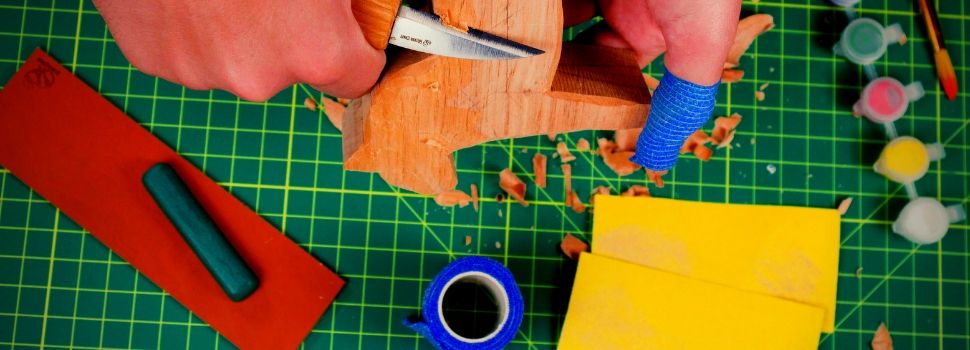
You would require sharpening supplies to maintain knives and prevent them from getting dull. The most common sharpening supplies consist of sharpening stones, sandpaper, and leather strops. In the next section, I’ll share with you some tips on how to use all these tools in an easy way to sharpen your knife.
Measuring Tools
These are optional if you are drawing graphic lines onto the wood directly. You will need a pencil and a rubber. Otherwise you can use printed graphic designs that get glued to the wooden surface with a removable spray adhesive. They ensure straight lines for perfect measurement of patterns, especially the geometric patterns.
I started my journey with some free patterns found on the Internet. Some chip carving patterns are also provided in our gallery for your reference.
Practice Boards
You would need the wooden project boards as another essential part. At this stage, you may come across a confusion to choose between different wood types. Remember this rule you will get better results with softer wood. It can be easily cut without effort and it is the most ideal solution for chip carving. For reference, you can begin with basswood.
This Is How I Keep My Chip Carving Knives Razor-Sharp
I mostly use sharpening stones to sharpen my chip carving knives. So, you can consider all the options available and select the ones that fit you best. If you choose to use a sharpening stone, then make sure to go with only fine grit stone range from 6000-8000 grit.
Sharpening with a Stone
Sharpening with a stone is quite simple. Take the stone, place the knife’s blade flat against it. Then, raise its blunt black edge slightly to create a shallow angle. Since you are using a primary knife for chip carving, it would certainly have bevels on either side.
For efficient edges, I would like to recommend diamond-shaped sharpening stone.
Take this stone and place the tip of the blade at an angle of 10 degrees to rub it back and forth from both sides simultaneously.
Sharpening with a Sandpaper
Then, comes the Emery Cloth Sandpaper as it is the best version of all and comes in different grits such as 500, 1000, 1500, etc. Well, I have used all of them one by one to sharpen knives. My pocket-friendly option is this sandpaper. The process is almost similar to using on a stone except that you either need to wrap the sandpaper against a dowel or glue it on a melamine surface.
Polishing with Leather Strops
Leather strops are another ideal option. They are used to eliminate the tin edge developed after sharpening it on a stone. It further helps to brighten the cutting edge. Well, these stropping supplies, I must say, are essential for you as a beginner. For my projects, I always prefer using BeaverCraft Leather Strop. Although the product may cost you a little, the durability is worth buying.
This is how I use this leather strop.
- Apply the buffing compound by polishing.
- Polish paste to the surface of whittling strop.
- Place the blade towards the handle on this leather stropping.
- Keep pushing the blade towards the top of the leather strop.
- Then, I used to push it down towards the handle with slight pressure.
Hold The Chip Carving Knife In A Right Way
Your hand position matters a lot while chip carving. In this section, I want to discuss some simple gripping positions required. So, let’s take a look at them before you grab your project board, knife and start carving.
Chip carving for beginners mostly includes these two grip positions provided below. Firstly, take a chair without arms, sit on it and hold the project board in your lap.
Grip Position 1
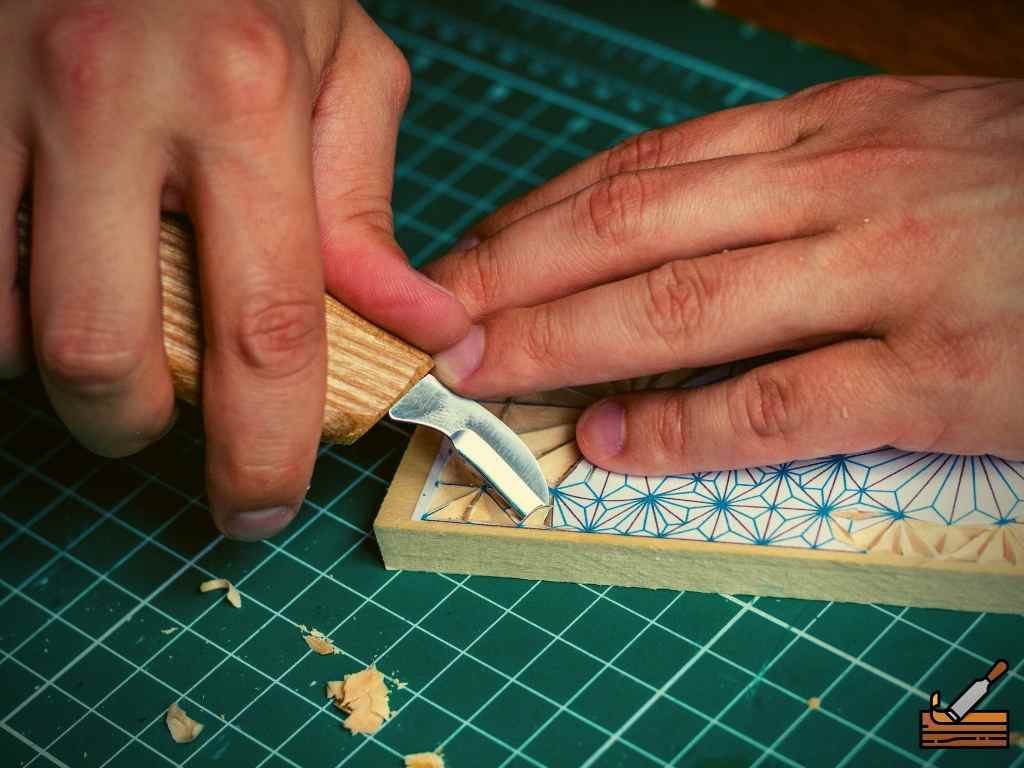
Place the first joint of your right or left thumb at the handle on the blade end. Wrap all your fingers around the handle while keeping their face inside of the wrist. Rest the thumb’s tip and knuckle of index finger over the wooden board. In this position, the blade will be placed at an angle of 65 degrees to the wood.
Grip Position 2
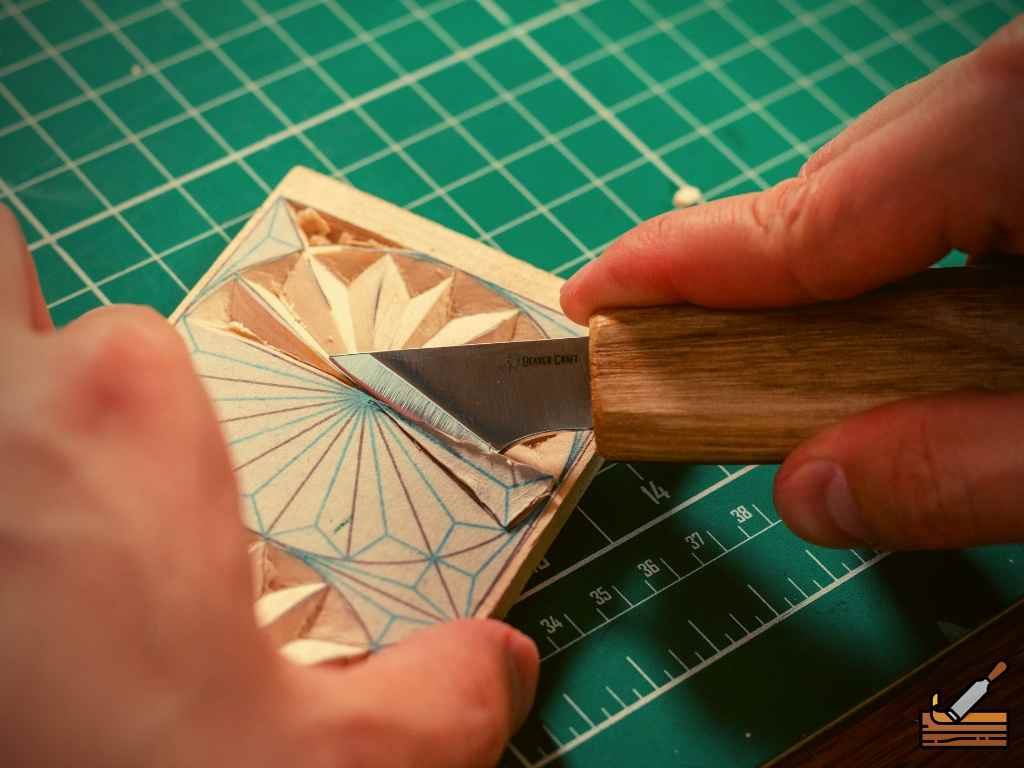
This grip is almost the same except that you need to place your thumb over the back end of the blade at the handle. Here, you also need to tilt the knife’s edge towards yourself to maintain a tilted 65 degrees angle of the blade.
Free Form
Free form chips are usual in carving 2-sided patterns. It is like wide at the central point and slowly fades back in a v-through line from a fine point. This hand position is generally maintained at 45 to 30 degrees and is equally important while you are making curved edges.
Easy Chip Carving Techniques
There are a total of three main and easy chip carving techniques to be followed. These are ranked from easiest to easy as below.
Fine Triangle Chip
This basic chip should be learned first as you will get used to all kinds of cuts made in the process. First, make a triangle on the wooden surface, set it on the lap, and ultimately use the first two gripping positions discussed earlier. Now, you need to make three cuts as follows to make a fine triangle chip:
Plunge Cut
It’s the first cut made by piercing down straight in the wood. The knife should be at a usual 65-degree angle and once it will reach the desired depth, it looks deepest where it enters and shallow at its intersection of the next angle. Back the knife without pulling it out in the line direction as it will create a cut where you do not want it.
Slicing Cut 1
In this cut, the blade will be facing away from you. Turn the workpiece from its original position and make push cuts into the wood while holding a knife similarly at 65 degrees. From the last cut left off, start from a shallow cut on the baseline and go deep. It will again look shallow at its next intersection angle.
Slicing Cut 2
This is a pulled cut where you return in the original position as you have done in plunge cut. Now, push your knife into the wood and pull it along the line. As you make this cut, the material will also pop out with it.
Straight Lines
To make straight cuts, I will rather look at the line where the blade should go. So, do not make a mistake by looking at the blade itself as it will confuse you. Keep the firm grip of your workpiece to have stability and tip up your knife to prevent the blade from surpassing the designated mark.
Curved Lines
Chip carving mostly consists of curved lines, especially when you are using free form hand positions. Here, the blade is stable at an angle of 65 degrees to create a wide shape with a deeper cut.
My Chip Carving Patterns
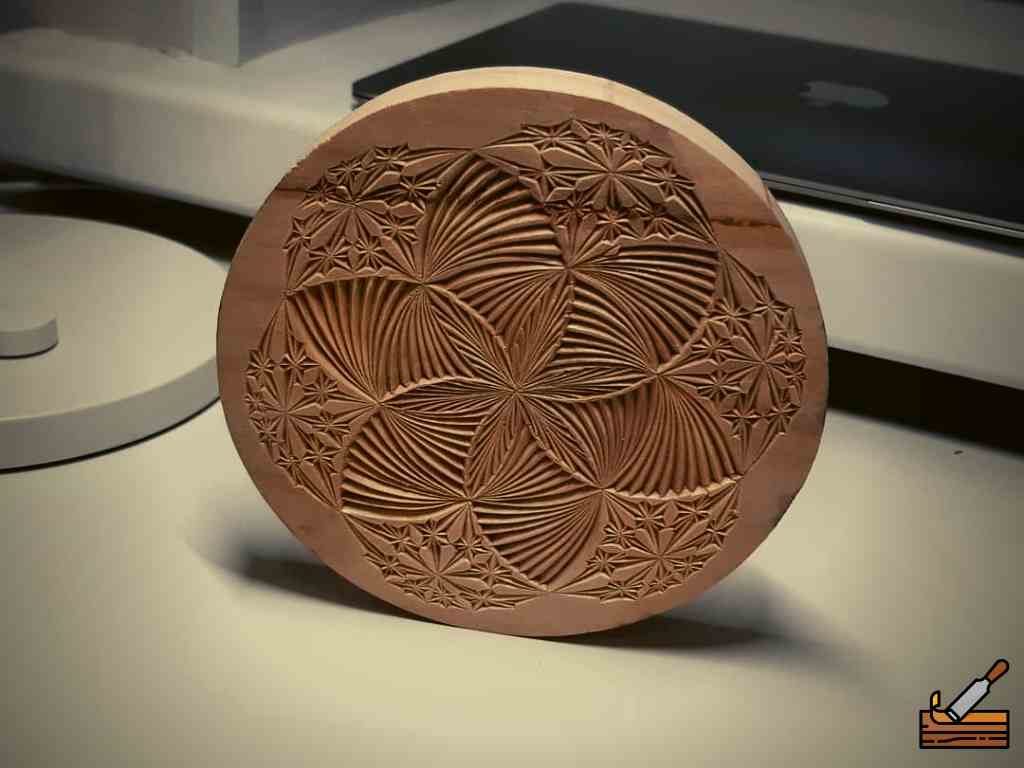
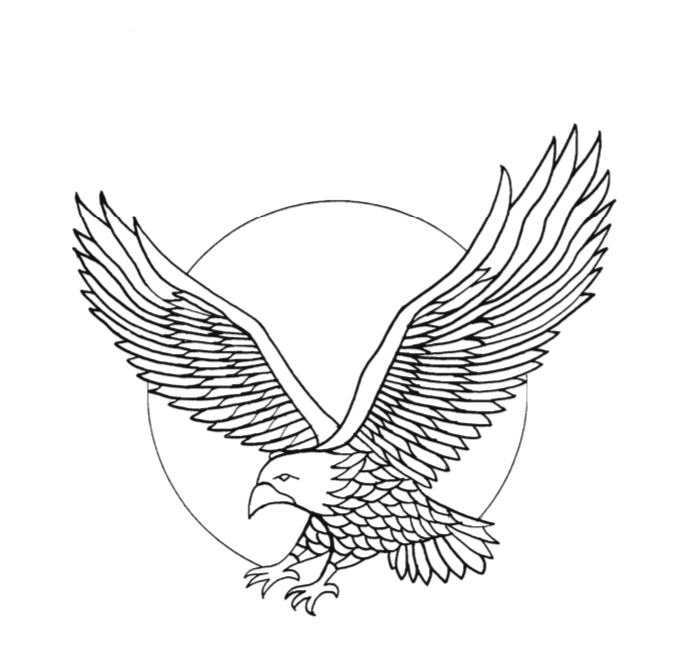
Some of my chip carving patterns are provided below. For more information, you should take a glance at our gallery.
Practice
It requires different chip carving knives as well as hand positions to create an excellent pattern after some practice and enough experience.
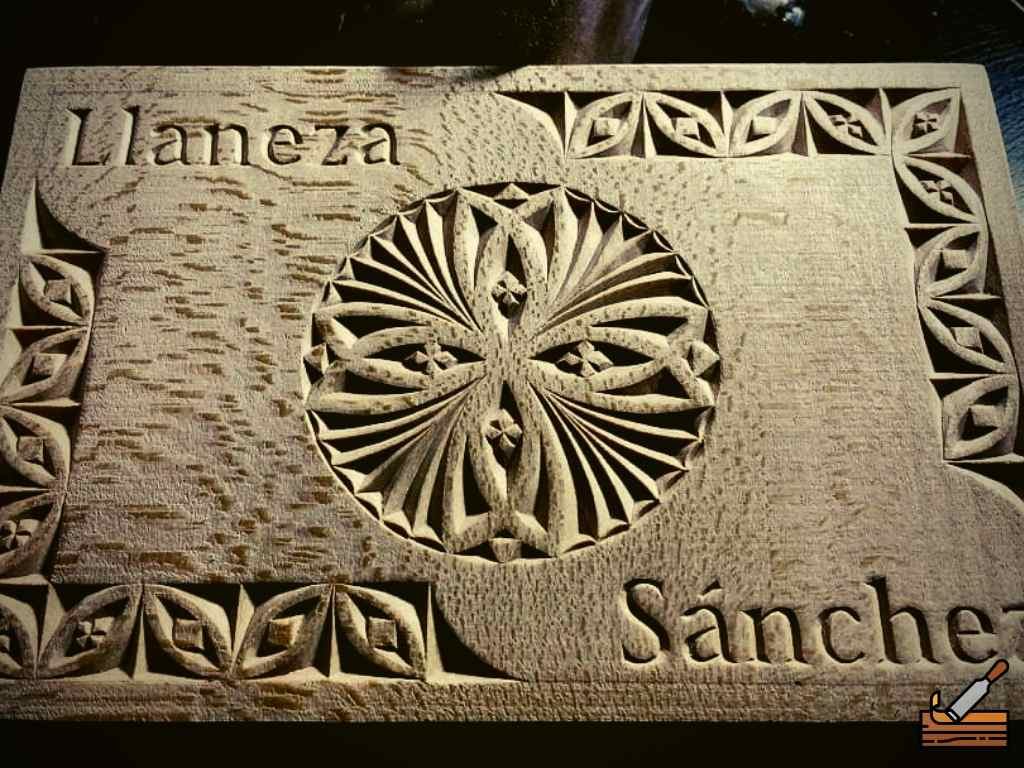
Plates
They are generally triangles morphed into a circular surface. These patterns are ideal on objects like plates or bowls and can be performed either with a stabbing knife or a chip carving knife.
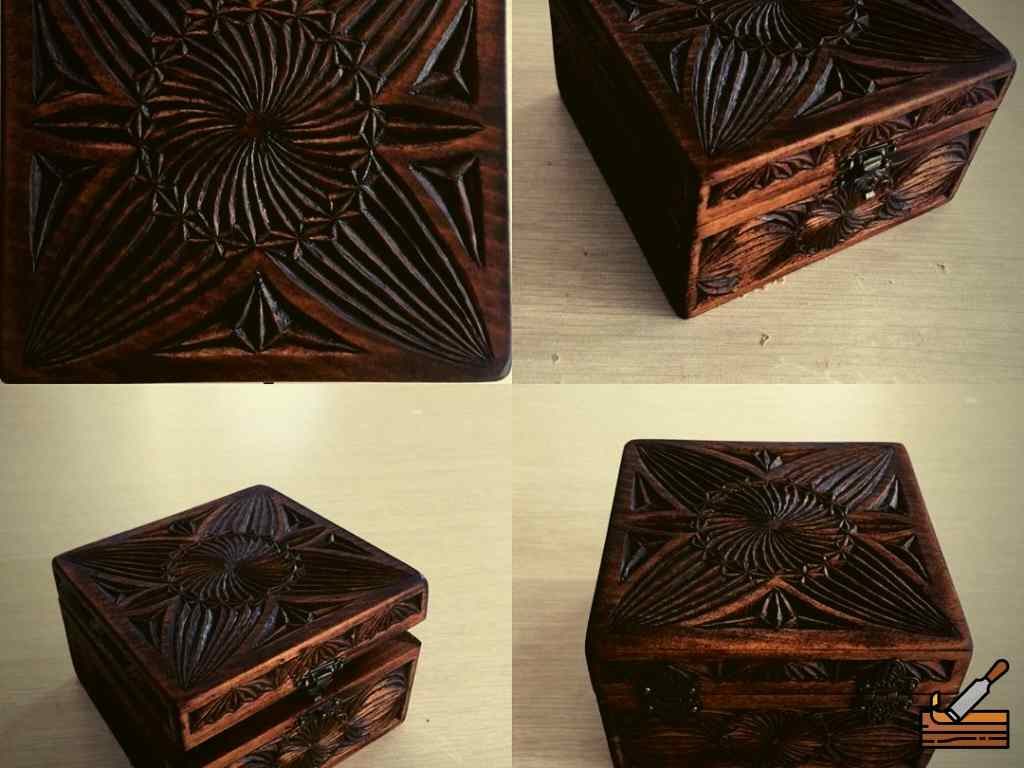
Boxes
This pattern requires almost all kinds of wood carving tools to perform.
Clocks
A clock is an easy as well as an excellent pattern to make.
Suitable Chip Carving Wood
Along with basswood, butternut wood is another suitable alternative to create cuts with very little effort. As I have mentioned above, you would always go for softer wood as it will be easy to cut. In case you are not having these woods, mahogany is the last kind of wood that I would recommend for the purpose. So, choose your wood piece effectively to have better results.
Conclusion
So, this is an easy guide to make first steps in the world of chip carving for beginners. Now you can confidently step up and make your first project. Furthermore, you may proceed to check our reviews on best chip carving tools in the next section.



No comments so far.
Be first to leave comment below.