

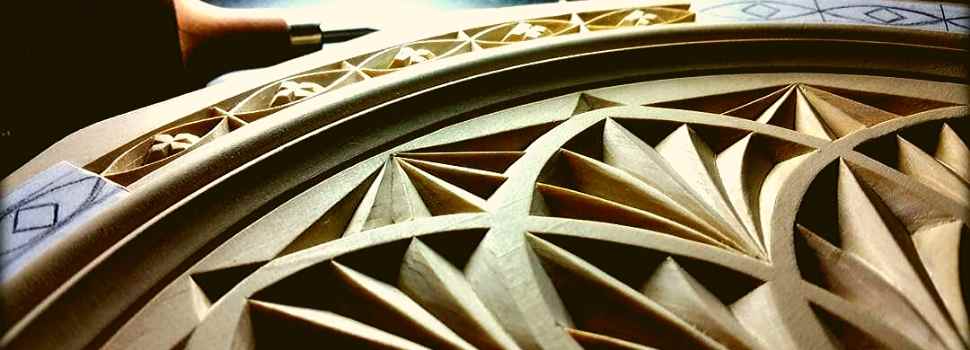
How to Choose Sandpaper for Your Wood Carving Projects?
Tips and Tricks 12.11.2019 Jeff Richardson 0
Introduction
When you have completed your carving project, sometimes you would decide to leave the sculpture or relief as it is, showing where the cuts were made, kind of like brushstrokes in a painting. However, most of the time you would like your carving to be smooth and shining. So, before you apply the finish to it, you would sand it carefully with a sandpaper. As simple as it may seem compared to creating the artwork, sanding is a time-consuming process, which, to be done well, requires patience, skills, and experience. The difficulty of sanding also depends on how dense is the wood that you work with. Here you can read what I suggest on topic of wood for carving.
What are the reasons of using a sandpaper?
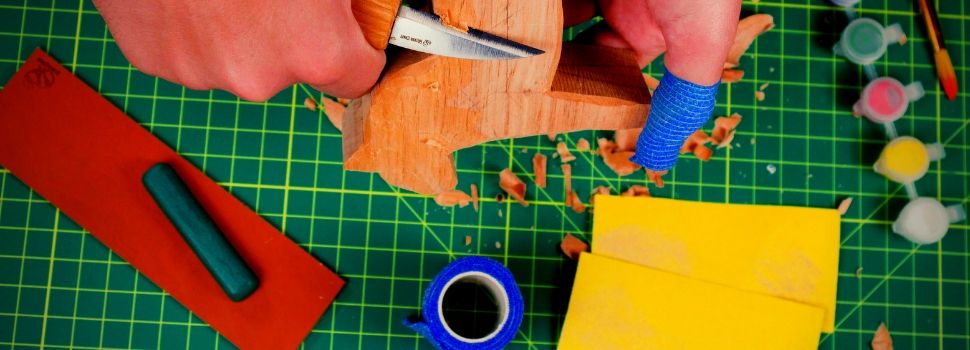
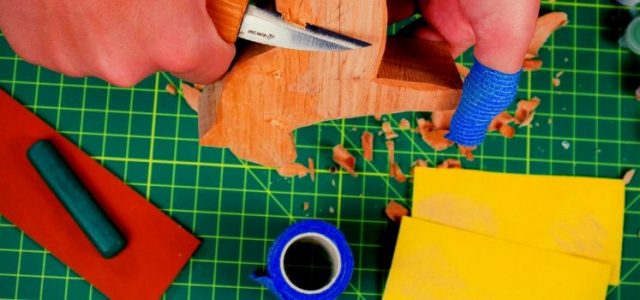
You can use sandpaper as a tool that adds big or small corrections to your woodcarving project, and also as a tool to make the surface smooth. Learn about other useful tools for carving. Sanding can be done for:
✅ Removing a considerable amount of material from the surface or angles
✅ Correcting small details
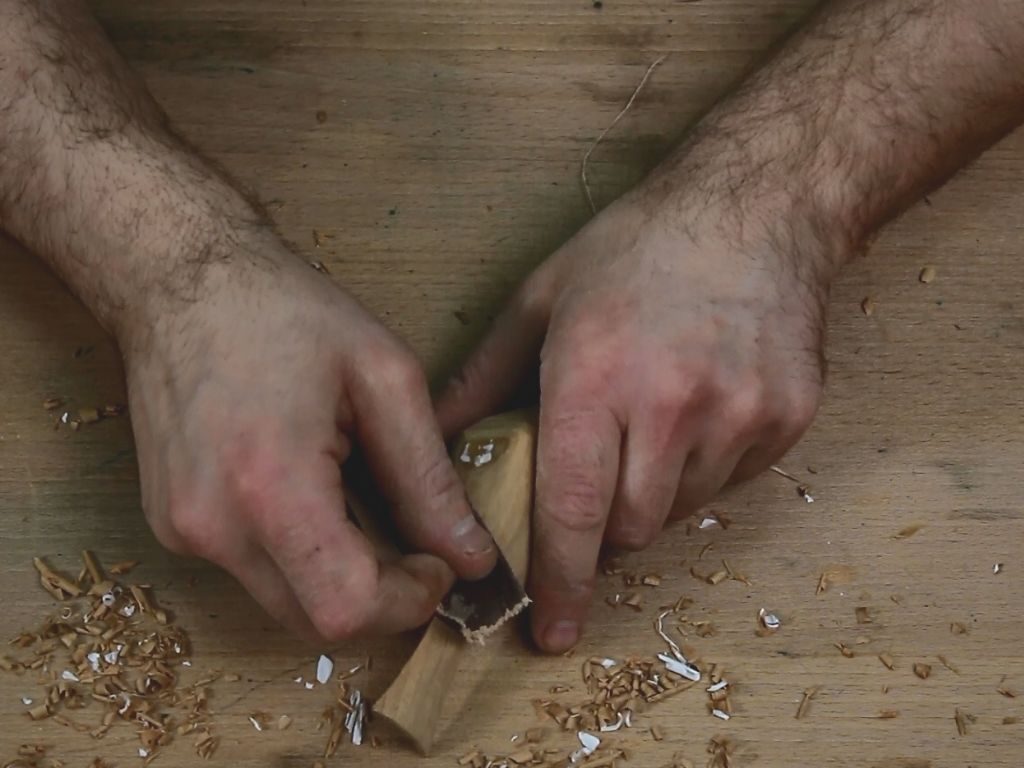
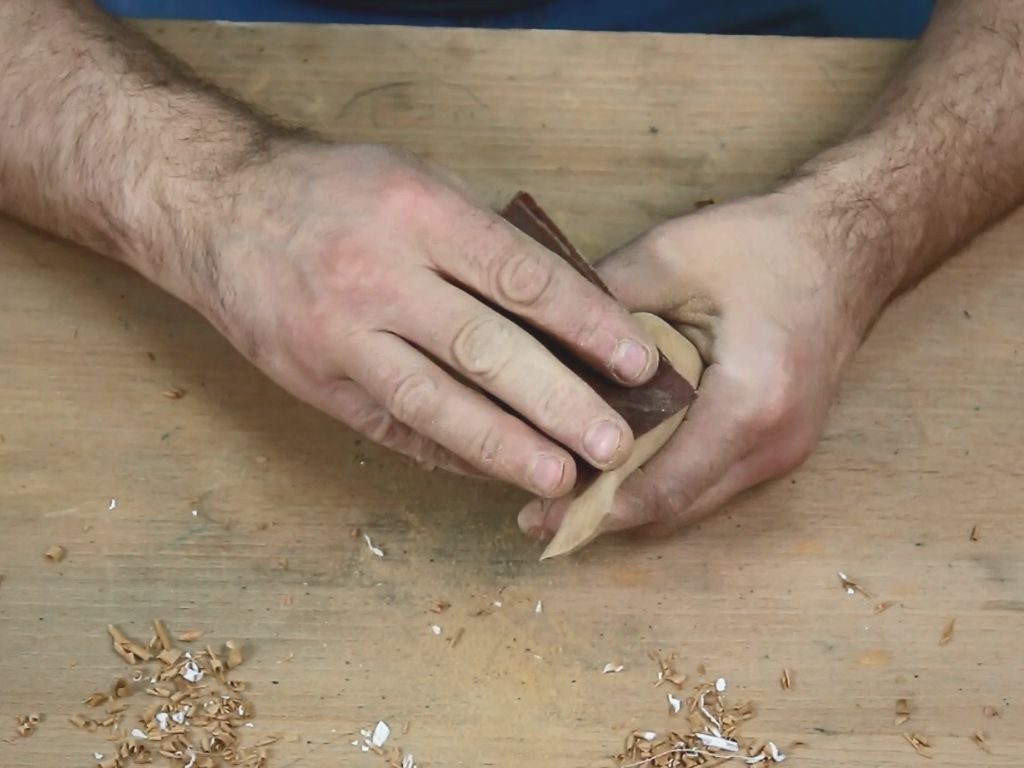
✅ Smoothen out the surface
✅ Fine sanding or polishing
✅ Other purposes
For each procedure, different grade of sandpaper is required, which is measured by grit, a special number that defines its strength.
Understanding the roughness of a sandpaper
You cannot polish the wood with rough sandpaper and cannot remove roughness and even the defects with a fine one. For this, pay attention to the grit which is usually written on the back of your sandpaper. Sandpaper grits for wood start from around 20 and go up to 600, but you will just need several of them, keeping in mind basic classification from the sandpaper grit chart:
✅ 60-80 grit sandpaper will help you remove excessive wood, smoothen the rough edges, even out the surface with major defects. This type of sandpaper will also help in other types of working with wood like removing old polish and paint.
✅ 100-grit sandpaper deserves a special place in the classification because it stands in the middle and can substitute some of the finer and rougher ones. This is why for some projects 100-grit sandpaper may be the only one you’ll need.
✅ 120-220 grit is fine sandpaper and the one you can use for smoothening and polishing your finished work. The greater the grit the lighter it is. With these sandpapers, you will give your creation a smooth and, in some cases, shiny look.
Polishing sandpapers go as far as up to 600 grit, but you probably won’t need the highest grit sandpapers. Read my thoughts on best sandpaper choice here.
Sanding and staining
You wish your work to become shiny and smooth, but at the point of sanding wood, you have to remember about staining. How are they related? The color the wood will obtain after staining is connected to how polished it is. The rough surface of the wood has much more open pores than the polished one. Staining works with liquid penetrating the wood, the more stain can penetrate, the denser color you will obtain.
At the same time, if you plan to stain, make sure you polish with sandpaper all the parts of your work evenly. The reason is, where the area is better polished, the stain color will appear lighter, whereas on rougher areas it will turn out to be darker. So, pay attention to this connection if you stain your woodcarvings. And you can polish with sandpaper some more after staining.
Conclusion
It’s good to mention that in sanding wood carving projects, same as in any other procedure, skills come with experience. You will notice that different kinds of wood may require slightly different grit sandpaper for achieving similar results. If you are looking for the grit to start experimenting from, start with 100, and after that try and see how rougher and finer sandpapers will work. And with the time you will develop your own tips on sanding woodcarvings.
All You Need To Know About Chip Carving
Introduction Nothing is more interesting than slicing out chips of wood and making an attractive wood piece in just a few hours, according to my experience. What I am going to introduce to you in this article is a whole concept about chip carving, and that is also in...
Full Guide on How to Choose Wood Carving Tools for Beginners
Read a Full Guide on How to Choose Wood Carving Tools for Beginners. Check out What Things You Should Consider in Regards to the Tools for Carving Wood.

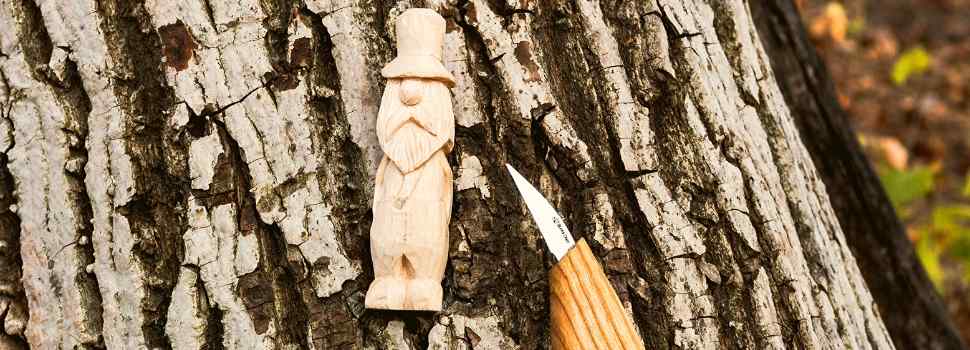
Wood Carving Tools for Beginners
Here are going to post pictures of wood carving tools for beginners, the ones we tested on our own. We want to help you out to get started with wood carving. Although we'd be happy to know your opinion on our tools reviews. Hopefully some tips and tricks on...
Jeff Richardson Editor
Passionate about wood carving since high school. Always been able to relax while carving. 7 years ago, I decided to dedicate my whole time to wood carving; this is when I started my blog. I am a fan of DIY, fitness, and crafts. Also, I love to spend time with my friends, carving something out of wood. I hope you enjoy my articles.
Related Posts
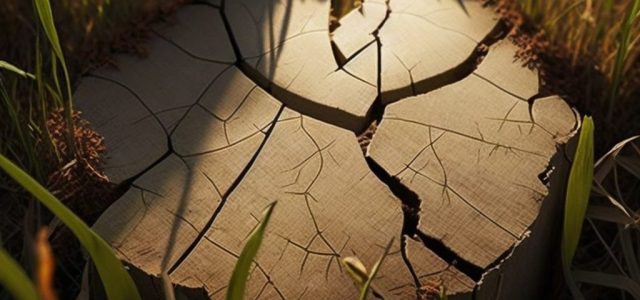
How to Fix Cracked Wood [ #1 Step-by-Step Guide]
Cracks in wood are a common problem that many homeowners and do-it-yourselfers face. Whether you have an antique furniture piece or a solid wood floor that has been impacted by humidity changes, addressing the cracks is critical to preventing additional damage. These cracks can compromise the structural integrity of the…
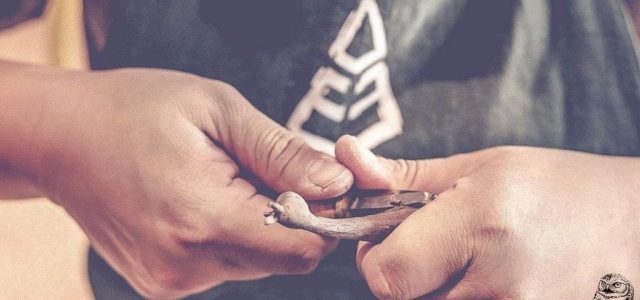
Wood Carving Safety Tips for Beginners
Wood carving is a wonderful and very creative endeavor. However, it can be fraught with many dangers if you do not pay sufficient attention to the basics of safety. It is better to tell others about your hobby by showing off an incredible masterpiece made of wood, rather than showing…

No comments so far.
Be first to leave comment below.