

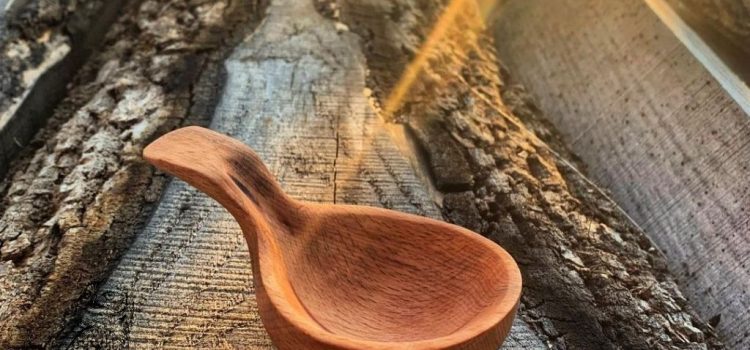

Everyone needs wooden spoons. Seriously! And if not for everyone, then your mom, aunt or grandmother will be overjoyed if you present them with it, made by you. Moreover, a wooden spoon is a great start for a whittling business. Moreover, a wooden spoon is a great start for a whittling activity, as it does not require a lot of effort and skill.
Which Wood to Choose for Spoon Carving
Of course, for beginners, it is easiest to start with softwood such as white pine. However, it should also be considered that a wooden spoon will unlikely serve as a decorative item, but will be used in everyday life. You don’t want the spoon to crack in your grandmother’s hand while she will be tasting the aromatic broth, do you? Therefore, a harder wood will be a better choice. It can be poplar, black walnut, soft maple or cherry.
Step-by-Step Guide to Spoon Carving
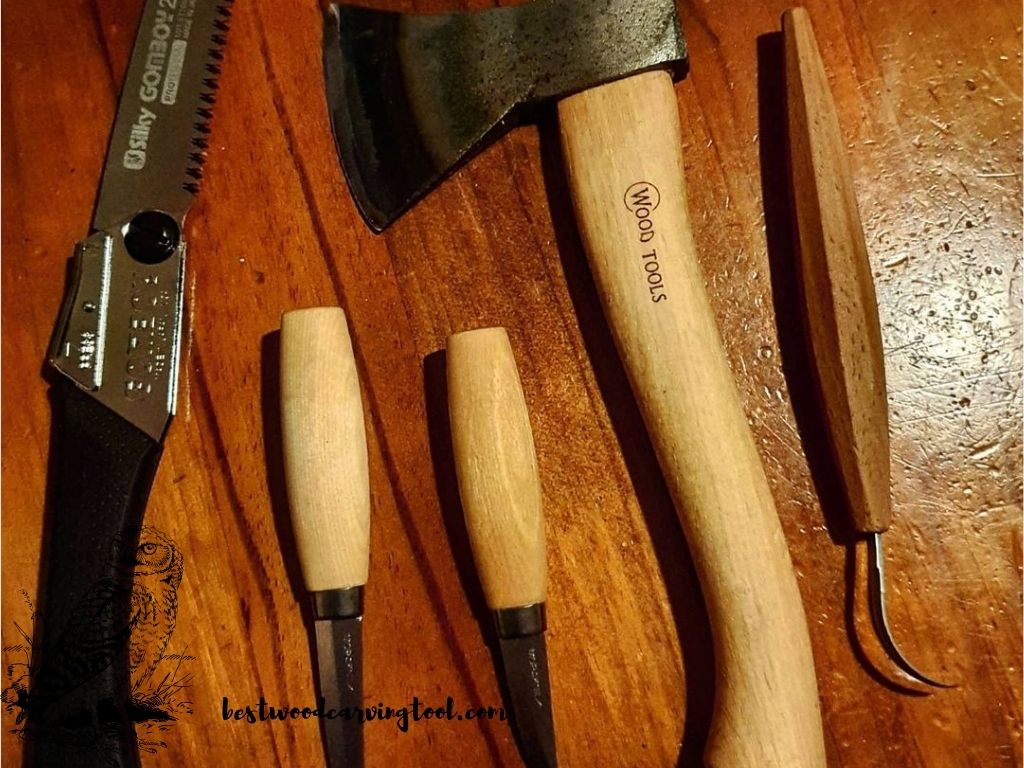
STEP 1. Collect everything you’ll need, namely:
- A piece of wood (about 1/2″ to 3/4″ thick, 10″ to 12″ long, and 2″ to 3″ wide);
- A set of tools, such as a carving knife, spoon gouges and drawknife (if you have);
- Different size sandpaper (and a rasp, if you are carving a large one);
- Pencil;
- Rag and some food safe finish (e.g. oil).
STEP 2. Come up with a spoon design.
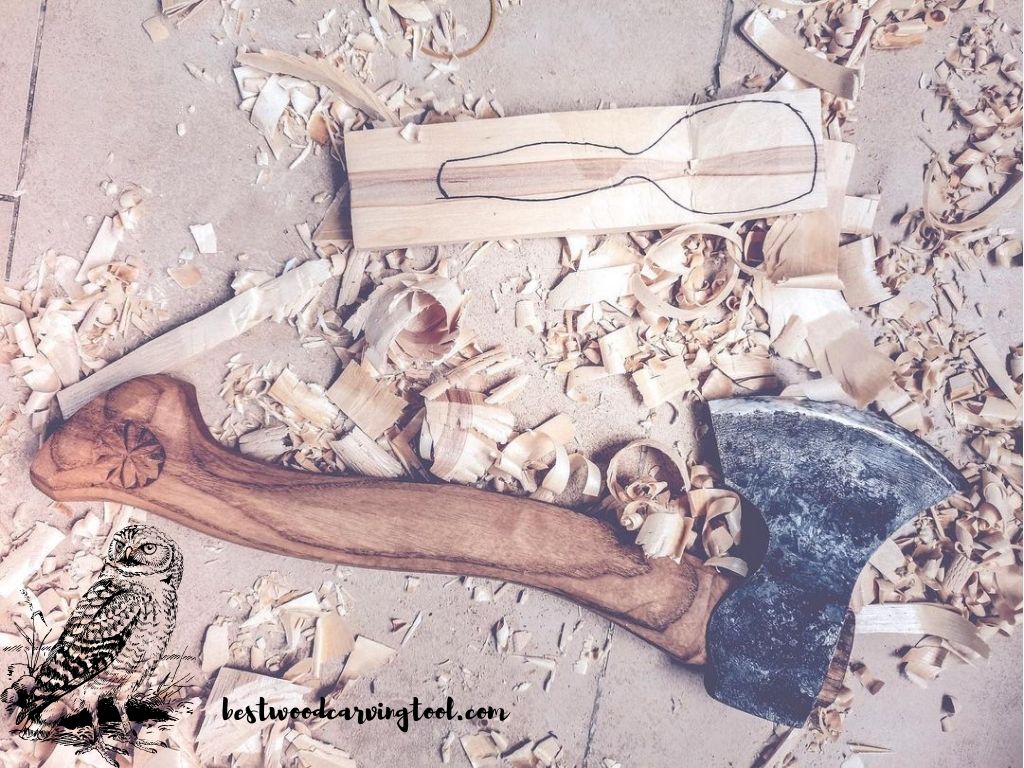
It may seem that there is nothing simpler than a regular spoon. However, even here there is room for imagination and play with shape and size.
You can immediately draw the shape of a spoon on a piece of wood. But I recommend that you first make a template on a piece of cardboard or paper. You can either use a measuring tool for woodworking, or create your own shape. For example, you can fold a piece of paper in half with the fold exactly in the center of the spoon shape. And on one half of the paper, draw half a spoon, and then cut it out grabbing the other half of the sheet. Thus you’ll get a symmetrical spoon shape, which can be transferred to a piece of wood.
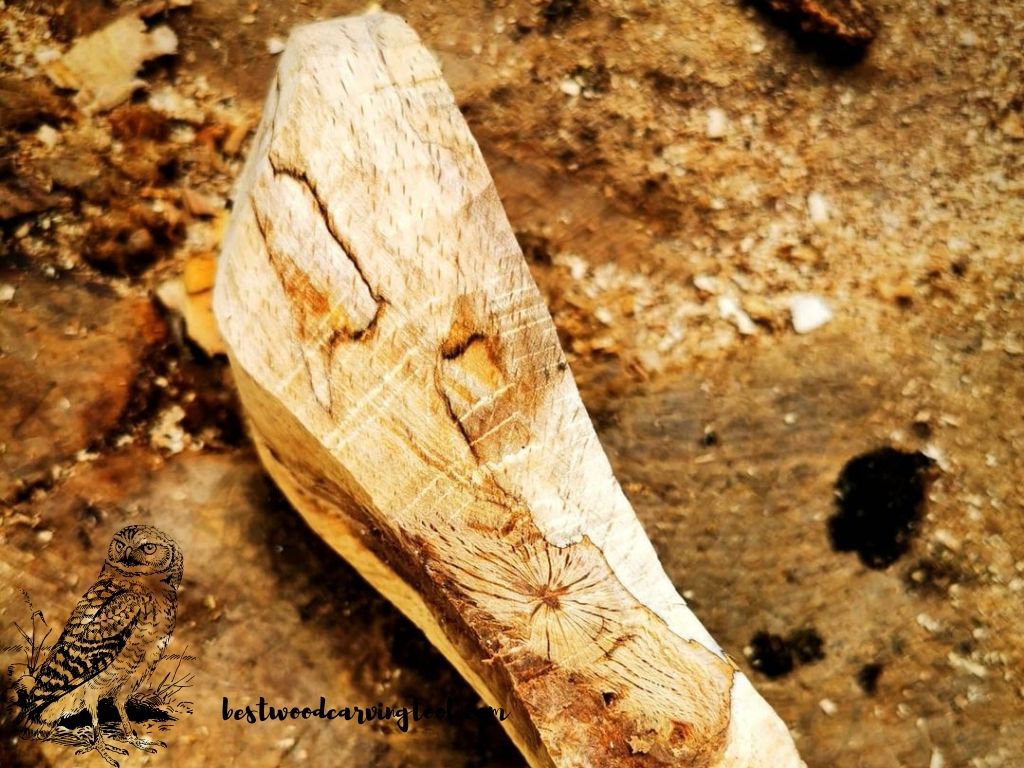
STEP 3. Start by carving the inside of the spoon (the bowl).
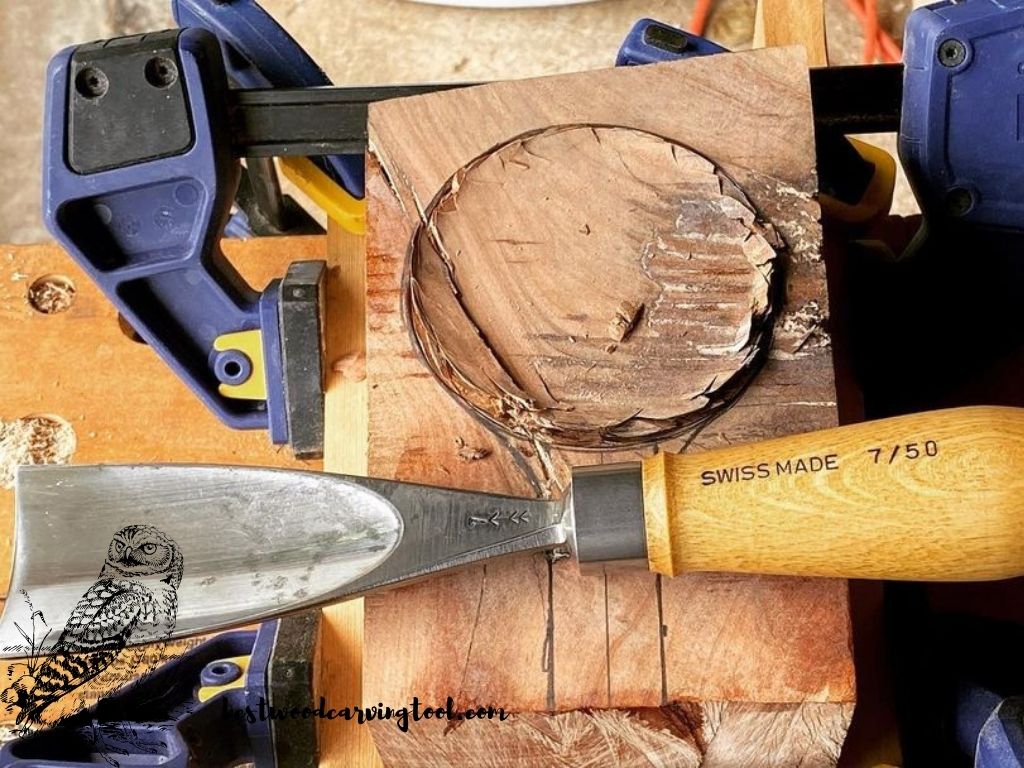
For this purpose you will need the spoon gouge. It is recommended that you start at one end of the bowl from the centerline and work your way to the other end by cutting the wood with shallow cuts. It is better to start with cuts from the cross grain of the wood for a rougher shape and cut along the grain at the end. Remember how deep the bowl should be so as not to overdo it. When making final cuts, try to achieve the smoothest possible surface.
STEP 4. Carve the outer side of the spoon including the handle.

First, sketch out the sides with a pencil to define the outer edges of the spoon. At this stage, you can use tools such as a whittling knife, rasp and a drawknife. The last two aren’t necessary. Move confidently from the bowl to the end of the handle, but don’t cut deep. Try to carve so as to make the surface as smooth as possible, and bring the spoon shaping closer to the final result. There is the last step ahead, which is finishing.
FAQ
How to Finish a Wooden Spoon?
Finishing wood carving projects involves sanding and coating with a non-toxic oil. Use coarse sandpaper at first, gradually moving to finegrited sanding. When the surface of the entire spoon is smooth and pleasant to the touch, brush it with a small piece of cloth with vegetable oil. Leave the spoon for a while for the oil to set in it.
In the meantime, you might want to consider making other kitchen utensils.
Jeff Richardson Editor
Passionate about wood carving since high school. Always been able to relax while carving. 7 years ago, I decided to dedicate my whole time to wood carving; this is when I started my blog. I am a fan of DIY, fitness, and crafts. Also, I love to spend time with my friends, carving something out of wood. I hope you enjoy my articles.
Related Posts

What is the best wood for carving
How to choose the best wood for carving? What type of wood will be better to start with? Check the Full Guide on Wood for Carving from Jeff Richarson.

What is relief carving?
If you are looking for a new hobby and wondering what to do at home in quarantine coronavirus has caused, relief carving might just be the right choice for you. Relief wood carving is an artistic craft of creating beautiful shapes on a flat wooden panel. Final projects of this…
No comments so far.
Be first to leave comment below.