
Finishing is the final note of the wood carving process. There are many ways to decorate wood, but you should take into account the characteristics of the wood, the size of the product and the type of carving so as not to spoil the whole project on which you worked so hard.
For finishing the carved surface on furniture or souvenirs, mainly transparent materials are currently used. With their help, they create protective coatings that preserve wood from dirt and moisture, as well as reveal the texture of the wood and give the surface a new color and gloss.
Painting is used to change the color of the wood or to even out it when the color is uneven.
Nevertheless, some people do their best to preserve the natural look of the wood, avoiding unnecessary finishing.
The main stages of finishing carved products include:
- preparation for finishing;
- painting;
- applying a finish coating.
Preparing the Carved Work before Coating
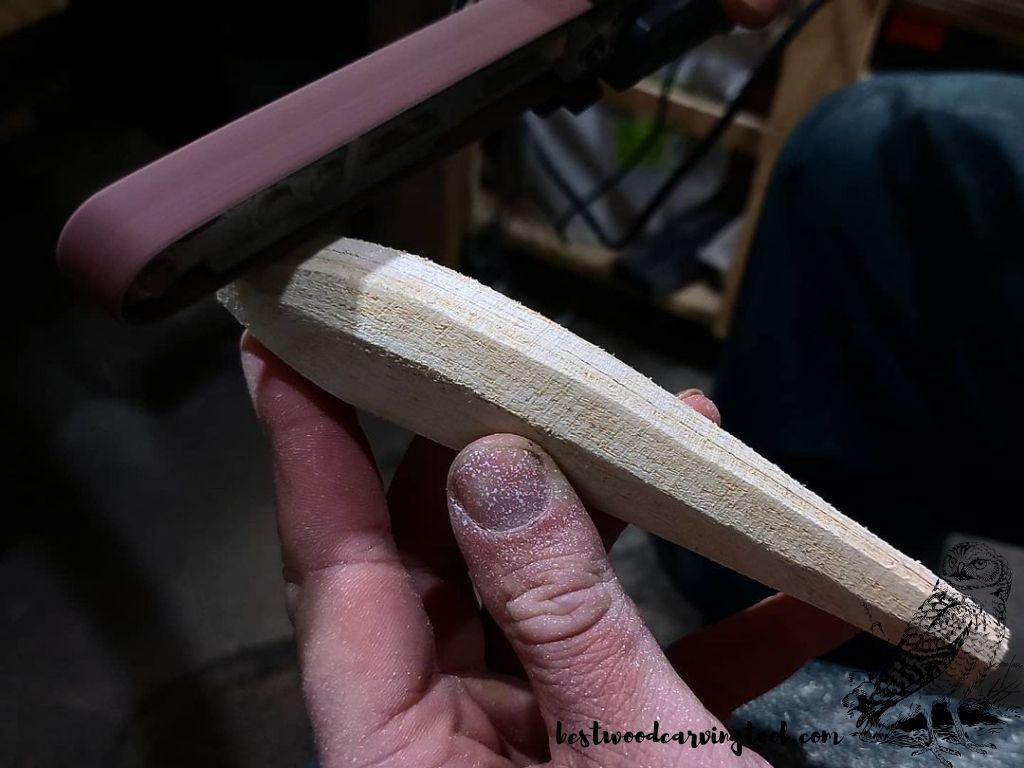
You can start with coating once you are finished with the blades. As soon as you set aside your wood carving chisels, knives, and gauges, you are ready for the finale.
Always start by checking your work for the remnants of marks with a pencil. If you found any, remove them with an eraser.
Next, remove all dust and wood chips with a toothbrush or paintbrush. Wipe the surface with a piece of lint free cloth to remove the finest dust.
Before sanding, select a sanding tool based on the hardness of the wood and the complexity of the carving. For intricate carvings, sandpaper is better, and for a larger piece of carving art with less complex carving, you can use a detailed sander.
When sanding, follow the basic rules:
- always go along the grain;
- do not press on the surface, otherwise you may change the shape of the carving; start with fine-grit sandpaper (150-grit is good for newbies).
Geometric carving with a predominance of sharp edges are also sanded using a block, but very carefully, trying not to grind the relief.
After sanding, dust and lint should be removed from the grooves of the carving with a stiff brush. Now, when wood is smooth and pleasant to the touch, it is ready for coating.
Types of Materials for Wood Surface Treatment
There are many types of paints and different coatings on the market that can be used depending on the desired result and purpose:
- antiseptic compositions and coatings that prevent the development of microorganisms;
- varnishes and paints (cover the surface);
- oil products (impregnated deep into the wood);
- primers designed to improve the adhesion of the top coat to wood and often contain antiseptics or flame retardants.
Staining and painting wood carving projects
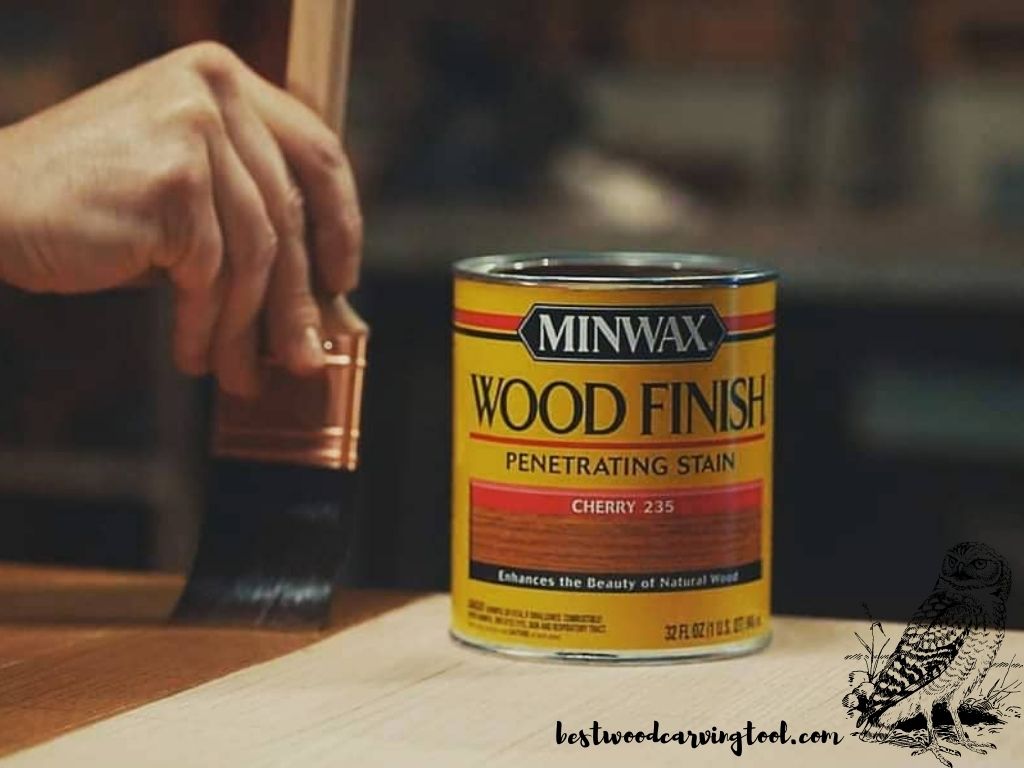
If you just want to just slightly change the color of the wood, you can use a wood stain. Apply multiple coats to achieve the desired color. Just make sure each coat is dry before applying the next one.
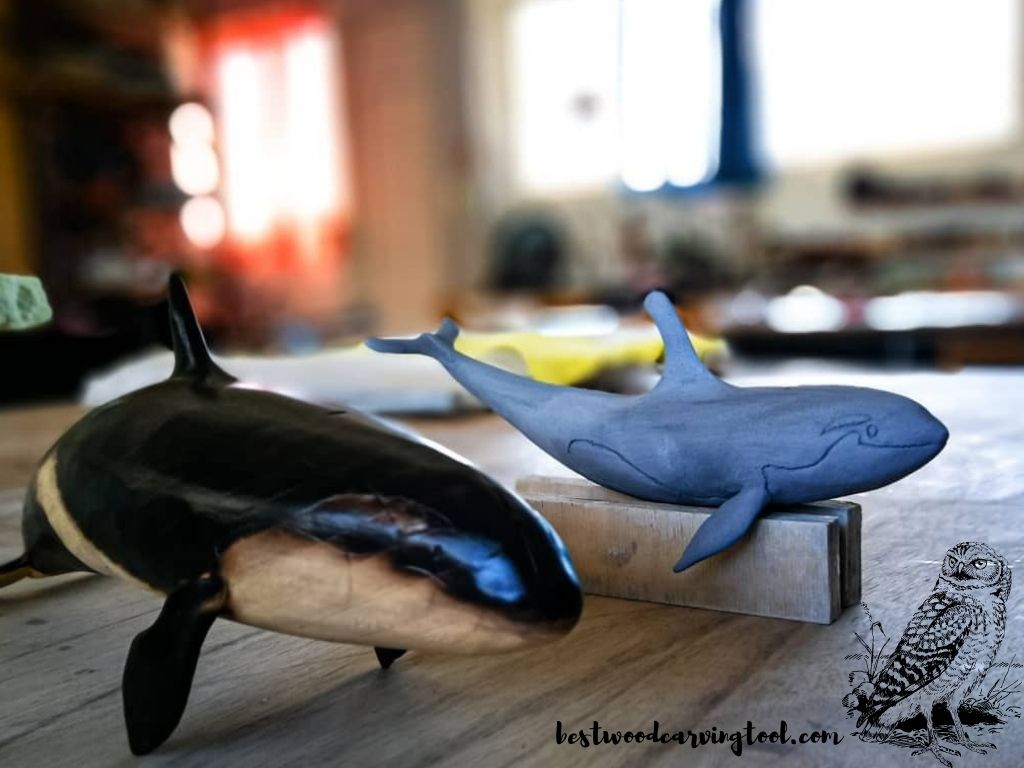
You can use acrylic or oil paint to liven up the wood carvings and create a glossy or matte finish.
If you want a more traditional look or want to soften the look of acrylic paint, apply some colored wax over the varnish.
In production conditions, carved products are painted with a paint sprayer.
Some difficulties arise when painting large items. Since the water-based paint is quickly absorbed into the wood and dries up, while painting around the perimeter of the product, the first section already dries up and at the junction of the beginning and end of painting there may be a sharp visible difference in color. Therefore, the painting border should be done not on the plane, but on the edge.
On vertical surfaces, a paint solution is applied from below so that the resulting streams flow down over an already painted wet surface.
Pro tip: Before you even get started finishing large objects, get your measuring tools for woodworking to estimate the surface you need to cover. Don’t jump the gun if you aren’t sure how much oil/stain you have left in the shed.
After drying, the painted surface is wiped with a hard cloth such as burlap or used fine-grit sandpaper along the grains. The purpose of the operation is to smooth the raised lint and remove excess paint that veils the texture of the wood.
If you are only beginning to learn more about wood carving, and all this information seems intimidating, don’t worry. Wood carving is a calm and fun process, and with time, you can learn everything about different tools, machines, oils and stains, you will know what is a rasp, and how to choose the grit of sandpaper. Just take it one project at a time.
Jeff Richardson Editor
Passionate about wood carving since high school. Always been able to relax while carving. 7 years ago, I decided to dedicate my whole time to wood carving; this is when I started my blog. I am a fan of DIY, fitness, and crafts. Also, I love to spend time with my friends, carving something out of wood. I hope you enjoy my articles.
Related Posts

What is the best wood for carving
How to choose the best wood for carving? What type of wood will be better to start with? Check the Full Guide on Wood for Carving from Jeff Richarson.

What is relief carving?
If you are looking for a new hobby and wondering what to do at home in quarantine coronavirus has caused, relief carving might just be the right choice for you. Relief wood carving is an artistic craft of creating beautiful shapes on a flat wooden panel. Final projects of this…