
Estimated reading time: 12 minutes
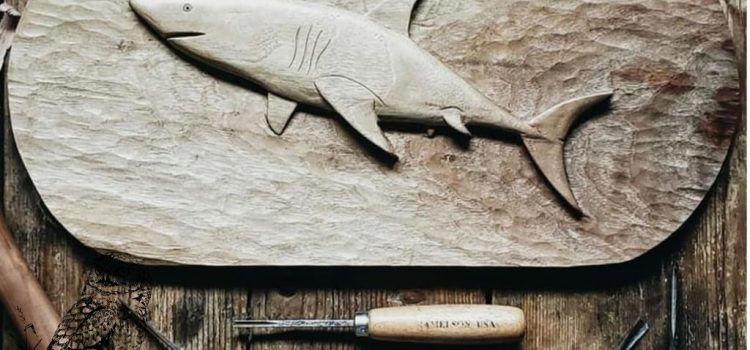
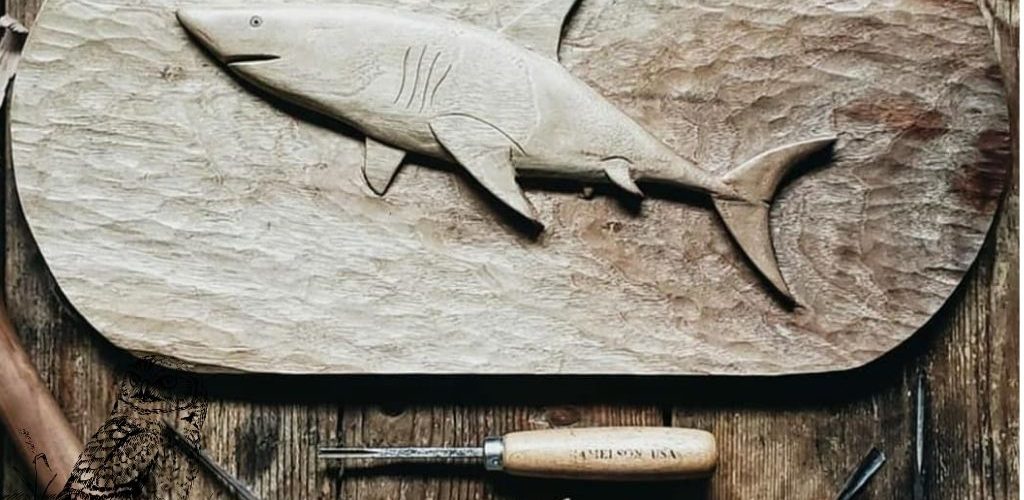
If you are looking for a new hobby and wondering what to do at home in quarantine coronavirus has caused, relief carving might just be the right choice for you. Relief wood carving is an artistic craft of creating beautiful shapes on a flat wooden panel.
Final projects of this carving style are figures that are “coming out” of a flat wooden background, and not standing themselves in space. These art pieces are created with specific techniques and toolset, presenting an authentic design ideal for decorating your walls.
Whether you are interested in relief carving for beginners or professionals, there are relief wood carving patterns that can be found online, which you can use to get started with simple or more progressive project styles. Each relief carving pattern will guide you on which shapes to carve into the wood, but it is up to you to decide how deep do you want to go.
What is the difference between relief carving and other techniques?
Most wood carving designs are three-dimensional – figures, sculptures, animals, or simple designs such as an engraved sign, and others. However, wood relief carving is based on the idea of carving shapes inside the wooden block, and upon finishing a project you have a wood board with your carving coming out of it.
According to relief carving definition, it is about creating a carving object with the background “attached to it”. There are also different tools and techniques that apply only to this carving style.
Relief carving tools are also different than the ones used for classic whittling projects, since you are removing the wood constantly from a flat board, deepening the carving within it, so a classic woodworking knife is not of much use here.
There are different relief carving techniques depending on how deep (or high) do you wish your carving to go, and whether your project has different layers. Each relief technique will require different types of blades in the toolset, and particularly specific among them is the undercut carving style.
Types of relief carving
Based on how deep or high the carved objects go within or above the surface of the wooden background, there are three main types of relief carving:
Low relief carving
Or also known as the bas relief carving. These images carved on top of the background are elevated ever so slightly from the base. The overall impression is that you have carved a shape on top of the wood block, when in reality you have been deepening the surface.
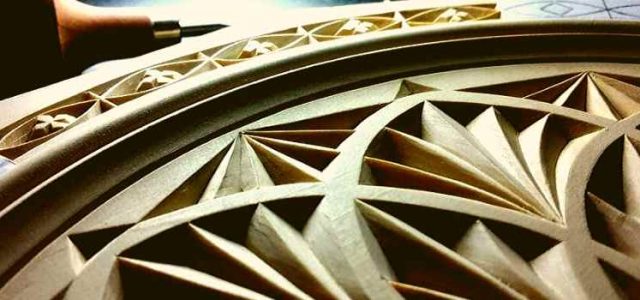
High relief carving.
Here, the sculpture is coming out of the background, and depending on how lifelike it is sometimes it can also be called 3d relief carving. Under high relief goes anything that is over two inches deep. For a proper high relief carving your wood thickness should be at least twice as big as the project you wish to create, because in other cases the warping of the wood will damage the whole panel.
Deep relief wood carving
Or also known as sunken relief. These carvings are designed deep underneath the outside layer, and they can also appear like an optical illusion inside a wooden frame. High reliefs are similar to deep reliefs, but with deep ones you are leaving the background intact, on the surface of the project.
Pierced relief
Is a new and rare relief carving style that requires drilling holes inside a panel. This see-through structure is much better to conduct with thinner panels, but it requires a lot of time and skill to execute properly and not break the wood panel.
Undercut relief carving techniques
Are even more complex than pierced carving, and they give the end result of a relief that has wider surfaces and a tighter structure. This style mimics shadowing and adds up to the illusion of relief depth.
Relief carving tools
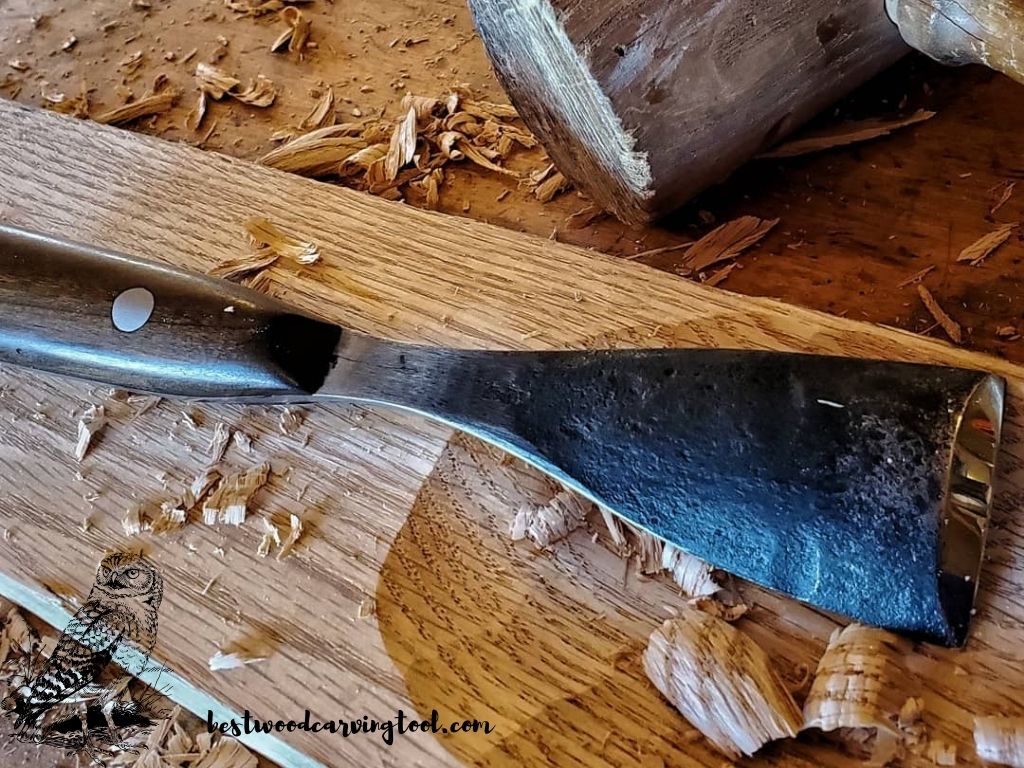
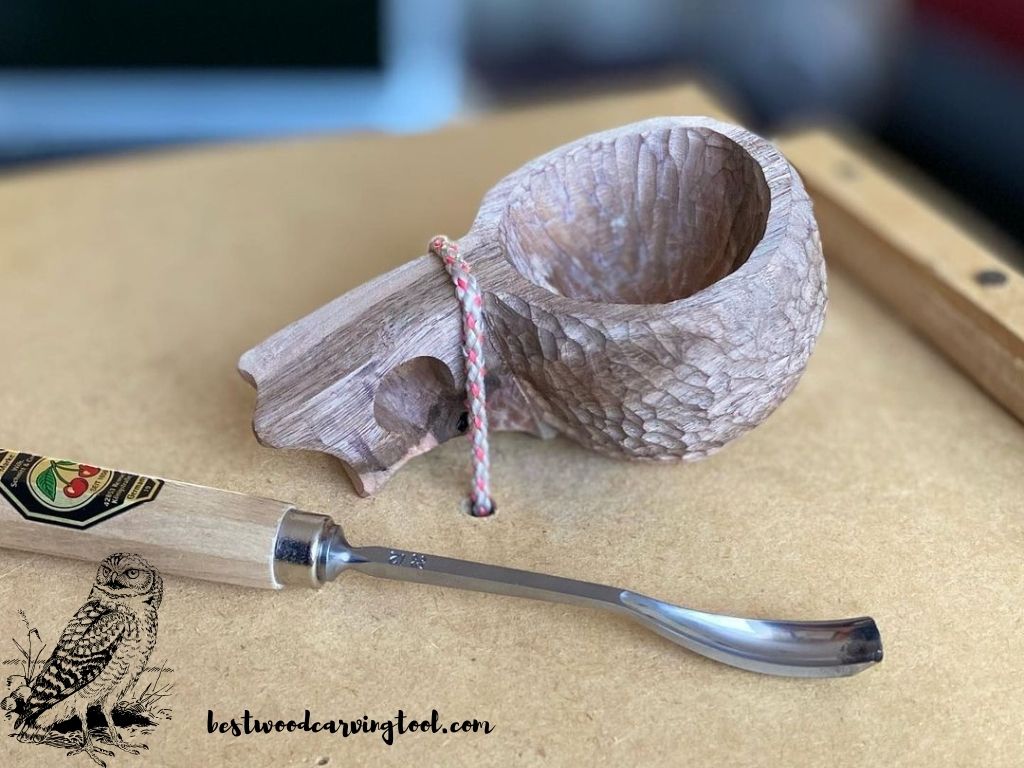
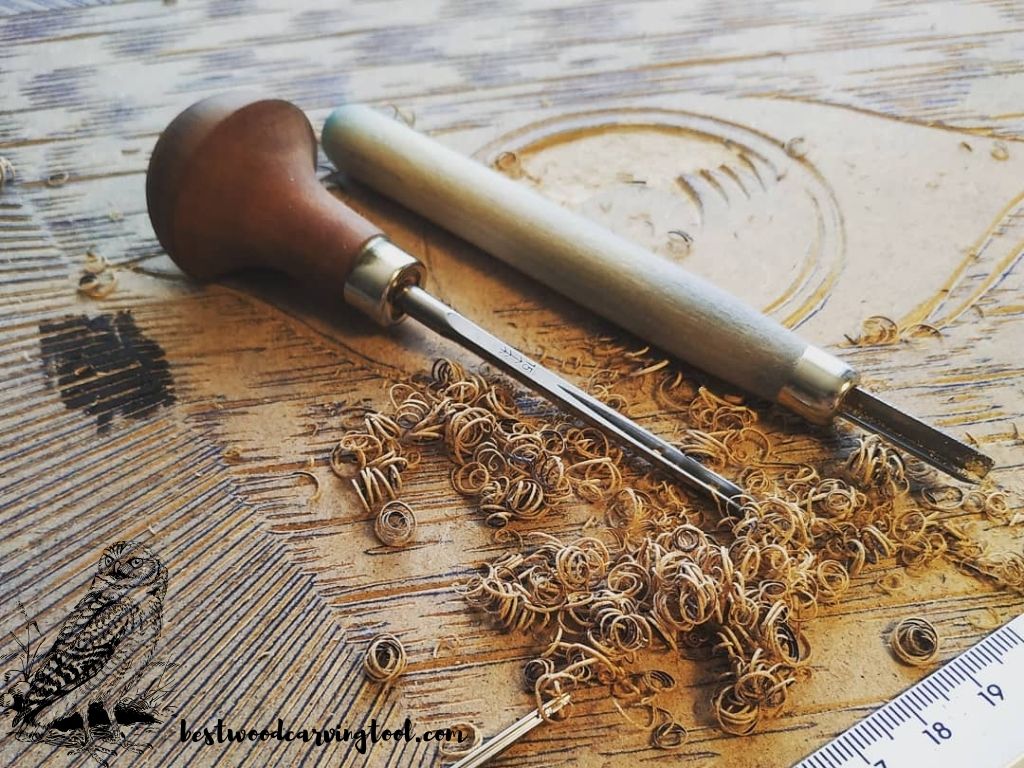
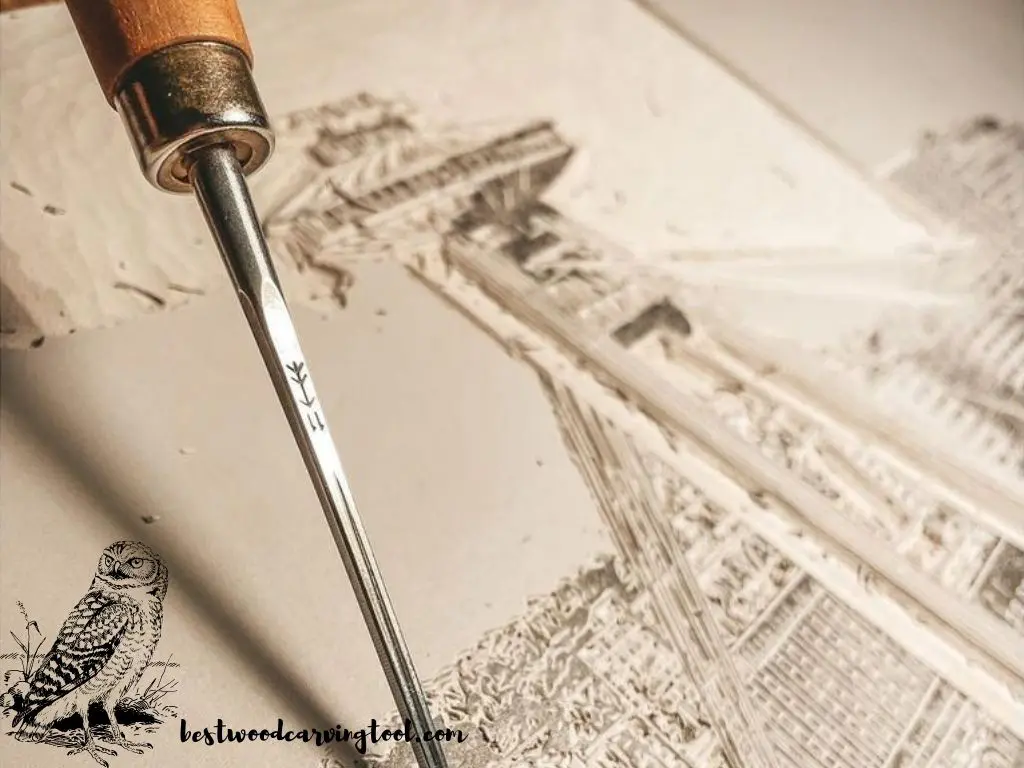
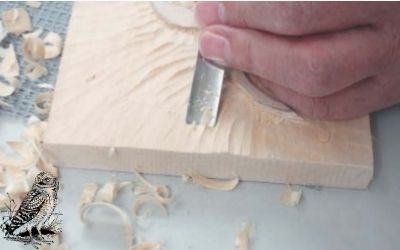
To scrape the wood from the wood panel the essential tool you need is a chisel. Every wood carver has chisels already in their toolkit, so it is just a question of choosing the right one. Large chisels are used to remove large amount of material, but smaller ones are more typical for details and low relief wood carving when you are only dealing with the thin top layer.
Among wood relief carving tools, there are also beveled and skew chisels, aside from the standard ones, and of course the gouges, that are essential to this craft. Gouges are a good choice for rounder cuts, when you cannot use the standard carving blades to make a smooth round shape. Depending on the project you are working on, you would need one or two of types of gouges:
- U-shape or V-shape gouge;
- Spoon gouge;
- Fishtail gouge.
For stronger effect over the chisel or gouge, you can also use a mallet. With a gentle pressure, you can speed up the process when you are doing the rough work in the beginning of your project.
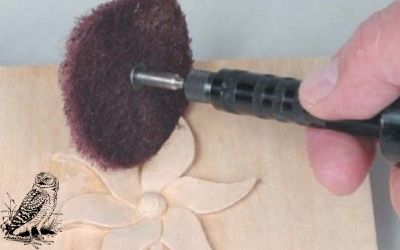
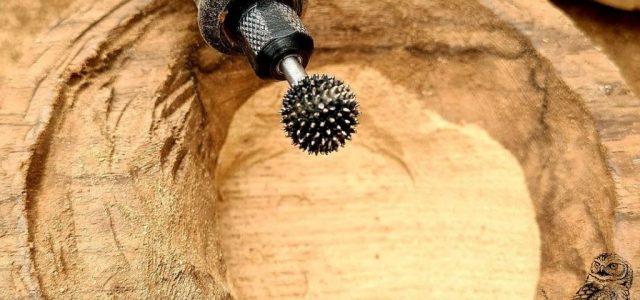
Power relief carving tools include a drill and a rotary tool. These machines have multiple tips that can help you carve your chape into the wood panel very precisely.
Best wood for relief carving

When it comes to relief carving, there are not so many differences in the wood type. However, in general, softwood is shown to be easier to shape and the results look better in the end.
Among the best wood for relief carving I can recommend are basswood, white pine, and butternut. These are all very soft wood and easy to work with for any type of wood carving, but especially for relief carving.
My best tip for relief wood carving for beginners is to begin with something as soft as a simple basswood. This wood is also affordable and you can let yourself practice and make mistakes while learning relief carving wood.
Once you master easy wood types, you can try something a bit more challenging such as mahogany. Mahogany is not difficult to shape, but it doesn’t respond very well to chip carving, and you would need to be extra careful.
Professionals in carving in relief can work with wood that is more difficult to carve, such as maple. It is not recommended to start with a wood that is not responding well to relief carving tools.
How to do relief carving? Step by step guide
In this brief guide to relief carving wood, I will outline the main steps of relief carving that are common for all projects. If you need extra tips, you can also check out a relief carving tutorial and get a deeper insight on what each tool does.
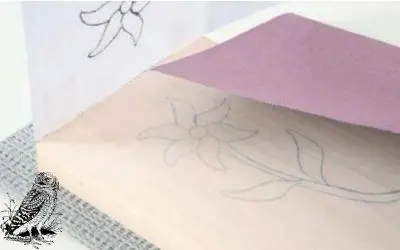
Step 1: Find or create a pattern.
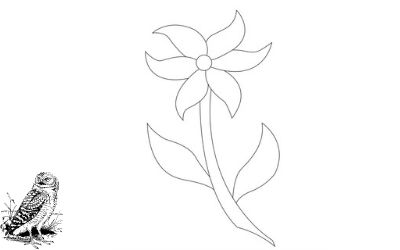
Whether you draw your own patter or download free relief wood carving patterns from the internet, you need to copy it to a transfer paper, and then lay it out on the wood panel.
Step 2: Prepare the wood for carving.
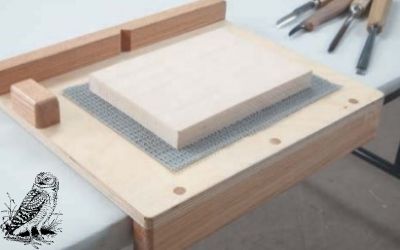
Before you start carving, you should lay out the wood panel on a desk or bench, and fix it so it cannot move. You can use bar clamps on each side.
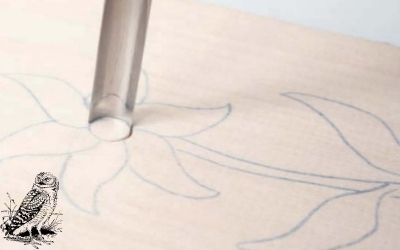
Step 3: Bring the pattern onto the wood panel.
It is essential for the wood to be still before you apply the carbon paper onto your surface for carving.
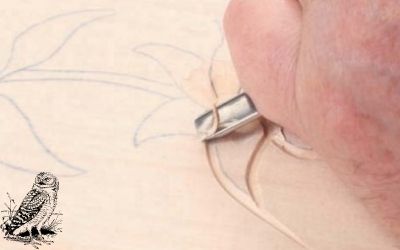
Step 4: Remove excess material from the edges of the pattern.
Use your mallet and chisel to outline your project and prepare it for carving.
Step 5: Outline the depth of the project.
Your wood carving relief will have different hights, so make sure to roughly define how deep does a carving go.
Step 6: Detail carving.
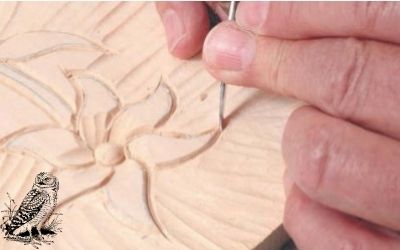
Here comes the actuall thorough carving process that is very similar to chip carving. So, apart from using gouges and chisels, an ordinary chip carving guide can also explain the detail carving of a relief.
Step 7: Even the background.
Once you are done with every detail of your project, clean up the board behind it to a level that you envisaged it has.
Step 8: Sand the project details, outline, and background.
Smoothen the curves of your carving with a detail sander or an edge of the sandpaper wrapped around a tight cylinder such as a pen.
Step 9: Finish up the project.
After sanding, you should clean the whole wood surface with a wet cloth and check for any excess wood you have forgotten to remove. From here, you can use oil as a finish to protect your carving, or apply a wood stain of your choice.
Tips on choosing patterns for beginners
Relief carving patterns vary from simple to very big and complex projects. If you are only getting started with carving relief, it would be a good choice to start with something basic to get the idea of how to use each blade and what the effects are like.
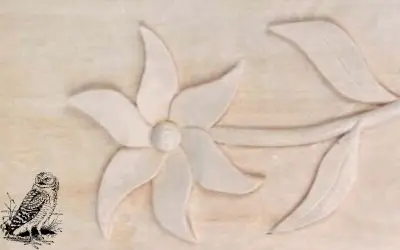
Relief wood carving patterns for beginners are usually simple geometrical shapes, floral designs, letters. For your very first project, be realistic with your carving experience overall and how big of a challenge do you want to take upon. Relief carving should be a relaxing and creative experience, not something that you will stress over.
It is also recommended for beginners to start with low or bas relief wood carving. The shallow depth gives the impression that you have made something out of wood and glued it on the surface of your panel, and it can look amazing.
Another tip is to start with basswood or pine, the type of wood that you can carve with ease. You can either create your own pattern or simply download free relief wood carving patterns for beginners and take it from there.
FAQs
What do you need for relief carving?
Essentials for a relief carving projects are: the right set of tools, a wood panel, and a pattern for the desired project. Before you get started, prepare your workshop to ensure you have enough space and the ambiance is creative for you.
Tools for relief carving are chisels, gouges, a mallet, and if you prefer power tools – a rotary tool with detail nodes. It is recommended to have chisels and gouges in different sizes for wide and detail carving of the whole project.
The best wood for relief carving is softwood that is easier to shape and isn’t prone to warping. Your wood panel should be at least twice as thick as the depth of your project. Before you take any actions on the wood surface, make sure your panel is firmly fixed on top of your desk or a bech. You can use bar clamps to hold your project tight while you work on it.
You can either draw your own pattern or download one for free. Copy your pattern on a transfer or carbon paper, which you will then use to transfer the design ont othe wood panel. Be calm and careful to apply the pattern the exact way you want.
How to do relief carving?
Relief carving is the wood carving style that covers the designs that are three dimensional, popping out of a background. To do this kind of craft, the basic technique is to remove wood from top to bottom of a wood panel with gouges and chisels, until you achieve the levels and shapes you wanted.
Even though the effect of low and high relief carving is that the design is coming out of the background, the carving is done in-depth, upon which you will remove the excess wood from the background to the desired level.
What is the best wood for relief carving?
Best wood for relief carving is softwood that is easy to shape, such as butternut, pine, basswood. Since you will be digging into the carving, it is important that the wood shows as less resistance as possible. Softwood is highly recommended for beginner relief carving, but professional carvers experiment with more demanding wood such as mahogany or maple.
Jeff Richardson Editor
Passionate about wood carving since high school. Always been able to relax while carving. 7 years ago, I decided to dedicate my whole time to wood carving; this is when I started my blog. I am a fan of DIY, fitness, and crafts. Also, I love to spend time with my friends, carving something out of wood. I hope you enjoy my articles.
Related Posts
All You Need To Know About Chip Carving
Wood Carving with Power Tools
Some wood carvers enjoy carving with nothing but knives, while others prefer to use electric machines in their work. Power carving tools come in handy for many endeavors where the knife is just not enough or needs wood material to be removed quickly. Carving machines can be corded or portable,…
No comments so far.
Be first to leave comment below.