
![How to Stain Wood [Guide 2023]](https://bestwoodcarvingtool.com/wp-content/uploads/2021/06/htswpr-750x350.jpg)
![How to Stain Wood [Guide 2023]](https://bestwoodcarvingtool.com/wp-content/uploads/2021/06/htswpr-1024x500.jpg)
Estimated reading time: 9 minutes
Even though staining wood is not something all woodcarvers do, sometimes this is a good way to add an extra glow to your project in the end. It is not difficult to learn how to stain wood properly, but these few more hours you spend working on your project can really make a difference. Stained wood is also more resilient and the surface is protected from cracking and damaging.
In this wood stain guide, I would cover the main things you need to know about the whole process of staining wood, from the preparation phase until the finish of the project.
Types of Wood Stain
There are many different stains for wood out there, and one can get lost in searching for the right one. In general, there are four different types of wood paint:
Water-based;
Gel stains;
Oil stains;
Varnish-based.
Water-based stains are not as common, but they are the healthiest, so to speak. These natural materials dry fast, they are very resilient to heat and mold, and they usually do not contain any toxic substances.
Gel stains are thicker than water stains and much easier to apply because they don’t spill everywhere. Because of its structure, the gel colors are much stronger and vivid.
The perks of oil stains are a deeper seal, since the oil makes tighter ties with the wood structure, and goes deeper. They are more resilient to heat, as well.
Varnish-based paint is the best choice for outdoor projects, that need to survive interchangeable weather, heat, and rain. They are a bit more challenging to apply because the excess can be difficult to remove upon drying.
Preparing the workplace
The first thing to learn from staining wood for beginners is how to prepare your workspace for wood staining. Most stains are designed to be applied at room temperature, except for those intended for outdoor projects, so ideally when you work on your furniture or carvings, set up the stage in your workshop.
The space in which you stain wood should have an air draft, especially if the paint you are using has any strong chemicals in it. Set up a layer of paper, or old newspaper, at the bottom of your project, to make sure your project won’t get stuck to your desk. Make sure you have enough space for painting, avoid risking applying stain to other materials in your workshop by accident.
Surface Preparation for Stain
After you have set up your workshop, the question that follows is how to prep wood for stain? Preparing wood for staining is a simple process of cleaning the wood with a wet cloth to ensure there is no unwanted dirt on the surface. After you clean it, you should sand the wood before staining it.
If you are wondering how to choose sandpaper for the staining prep, you should always think about the level of smoothness you wish to achieve. Start with a medium-size grit, and always sand in the direction of the grain to avoid tiny scratches on the surface. The final touch of sanding should be focused on polishing the entire surface with very fine grit paper, smoothening it to absorb the stain.
Step by Step Stain Technique
In only 6 easy steps to stain wood, you can give your project a new, fresh color, while protecting it from cracking and mold.
Step 1 – Cleaning the wood.
Clean wood before staining. This is the first thing to have in mind when you wish to paint a piece of wood. Take a wet cloth and carefully clean the entire surface to prepare it for sanding.
Step 2 – Sanding.
Use sandpapers for wood to smoothen the surface with very fine grit. Sand your wood following the grain to avoid making accidental scratches.
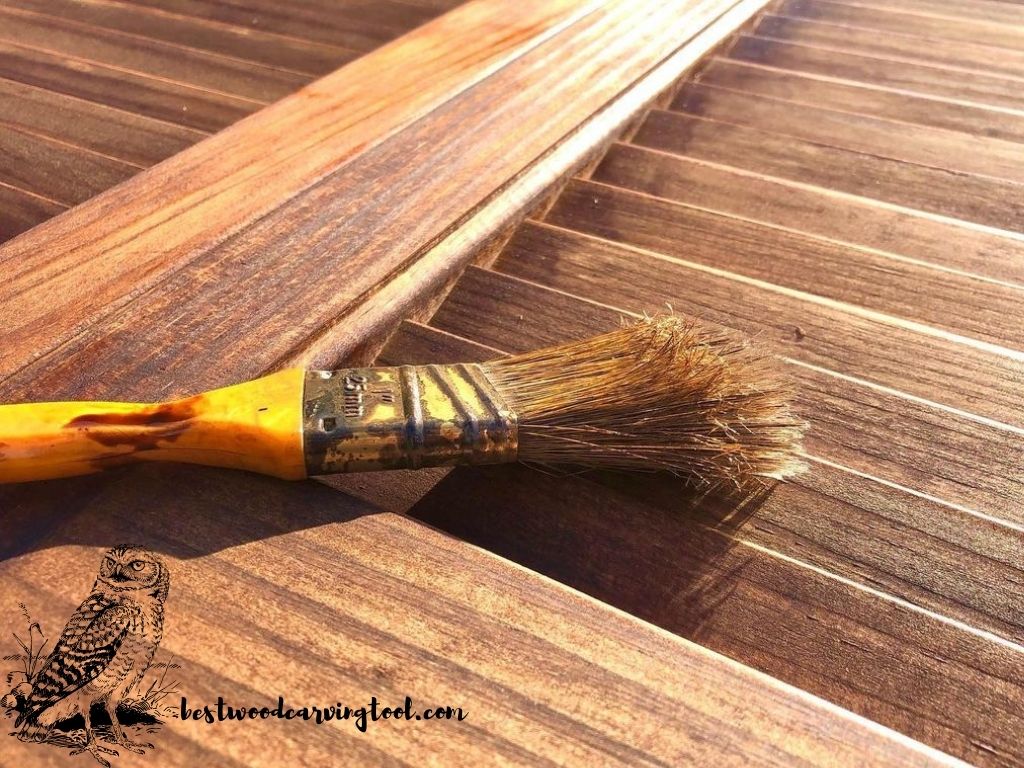
Step 3 – Applying stain to the wood.
The matter of how to apply wood stain is very simple indeed. You can place the paint with a brush or with a cloth, spreading it evenly over the surface, making sure there aren’t any lumps.
Step 4 – Wait for the paint to dry.
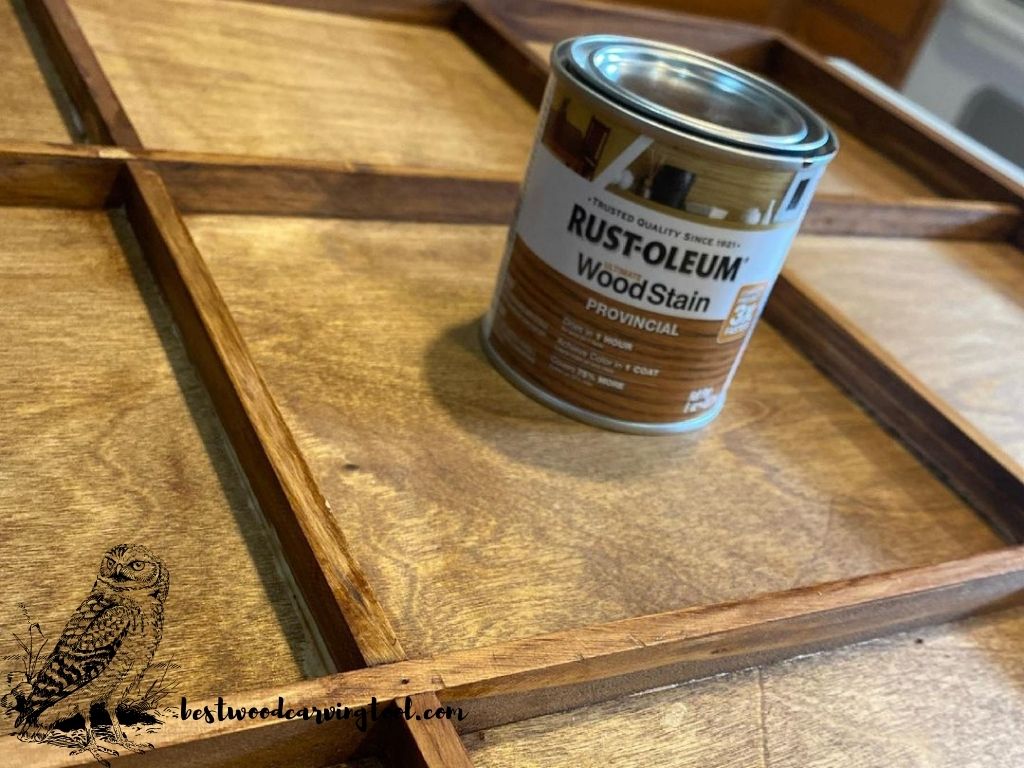
Each stain has its own drying period, depending on what the stain substance is made of. Water-based ones are usually the quickest ones to dry. You can find this information on the can of each wood stain.
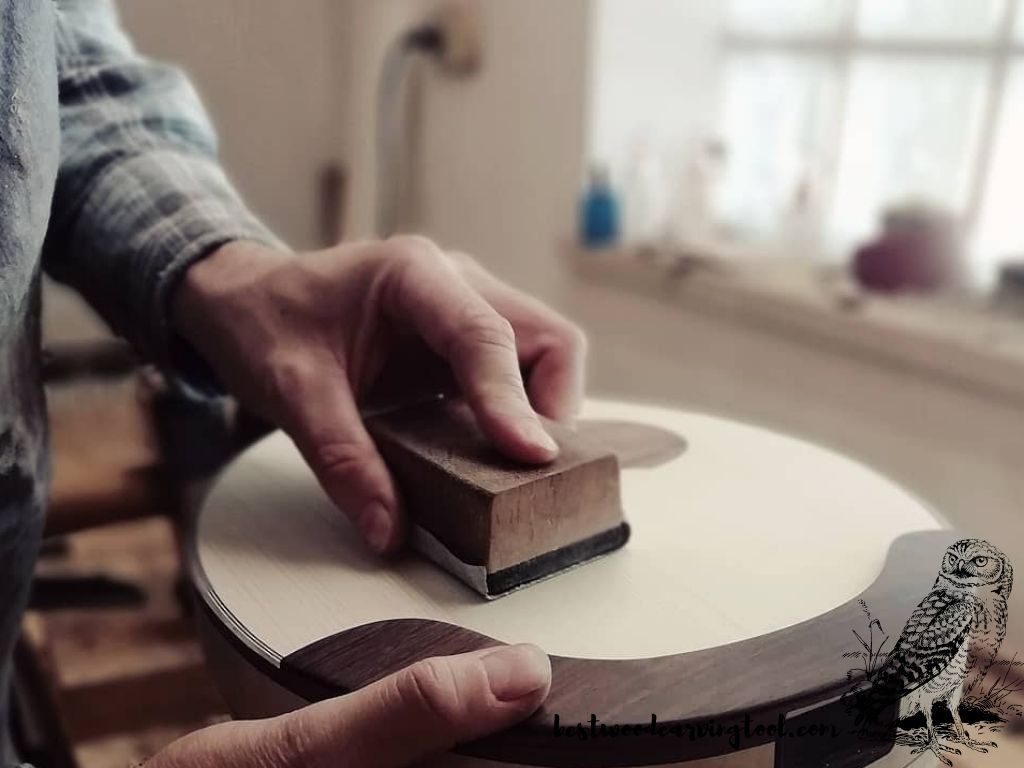
Step 5 – Final sanding.
Sand after staining to remove potential lumps and excess paint from the wooden surface. Gel stains and other thick paints are more likely to spread unevenly and sometimes you excessive sanding to balance out the surface.
Step 6 – Seal the paint.
This step is optional, and some carvers do it while others don’t. If you are working on an outdoor woodworking project, it is good to seal the paint and protect both the color and the wood with an extra layer.
Finishing
Sanding after staining is not mandatory and with some stain types, it is not even needed. Water stains can be spread nicely with only a brush, and after the first color layer dries you can perhaps apply another one to get a richer color.
Oil stains are better spread with a simple cloth that you use to rub the oil into the wood. One layer of oil paint should be enough for the wood to integrate the substance.
If you are wondering what to use after staining wood, I would recommend very, very soft grit sandpaper, to polish the finished work and give it an extra glow. Even if there is no need for sanding the paint off the wood, a little polishing is always a good idea.
Painting the wood and sanding it with fine paper on top is often what carvers consider finishing up a project. However, you can also choose what to put on wood after staining, and this could be natural oil to ensure the long-lasting effects of the painting.
However, if you know how to seal wood stain, it can come in handy for projects that you design for the outside. After the paint dries and you are done with sanding, apply a sealer coat on top. With the sealer, it is the most important thing to choose the right one that agrees with the stain type you have used. When purchasing a sealer, check the detailed info to know whether it is compatible with your wood stain.
Tips on Staining Wood
There are different wood staining techniques, which mostly depend on the type of stain you are using. Experienced woodworkers usually apply stain is one side at a time, after which they let it dry and apply the second layer. The watery stains can be easily applied with a simple brush, while the thicker paint requires a cotton cloth.
The best way to stain wood is to prepare the wood properly and choose the right stain for the wood you are working with. Some stains have different instructions for sanding prior to the stain application, so make sure you have all the information you need. For example, the Minwax gel formula is more effective when applied to a roughly sanded wood surface.
If you have made a mistake when applying the stain, there are ways of how to remove stain from wood. The easiest homemade method is to use toothpaste and a cloth to rub the stain off. Another useful method is to make a paste out of the water and baking soda (50% each) and rub it in circular motions over the surface. These simple tricks also come in handy if you accidentally spill some paint on your workdesk.
FAQs
What color stain to choose?
For staining wood furniture, most craftsmen usually choose strong colors such as oak staining or cedar. The most popular colors have recently been Jacobean and Ebony, and they both come in rich variations. The general tip is to use the color that is close to the wood you are working with, or stronger. There are other vibrant colors on the market as well, such as green, yellow, blue, pink. If you are buying one of those, again make sure that the color is darker than the wood, otherwise, you would need to apply many layers.
What tool to use to apply the stain?
The most common staining tools are the basic brush and a piece of cloth. There isn’t much of philosophy to how to apply stain, but some craftsmen paint small objects just by dipping them into the stain can. This is not recommended at all, since it will be messy, difficult to dry, and hard to sand afterward. Not to mention this is not applicable for stain wooden furniture, or any other larger project. So, stick to the painting brush for water-based stains, and choose a cotton cloth for gel and oil paints to spread them evenly.
How long does wood stain take to dry?
An average waiting time for drying the water stains is one hour. It is recommended that you wait for at least two before applying the second coat on top of it. For oil-based stains, the time is doubled, so you should wait for 3-4 hours for the second round of coloring. Each wood stain has a drying period that is highlighted on the package, but regardless, with each wood staining process, you should let it dry overnight before applying the final seal coat.
Jeff Richardson Editor
Passionate about wood carving since high school. Always been able to relax while carving. 7 years ago, I decided to dedicate my whole time to wood carving; this is when I started my blog. I am a fan of DIY, fitness, and crafts. Also, I love to spend time with my friends, carving something out of wood. I hope you enjoy my articles.
Related Posts
Top 7 Stains for wood Ultimate Review
I love wood – love the smell of it, the texture, its colors and that I can use it to make beautiful carvings. However, wooden surfaces are prone to change colors due to sunlight and other factors, so to keep them fresh and give them the glow they deserve, I…
Types of Measuring Tools for Woodworking
What do you use when you need to measure wood in your woodworking projects? Most craftsmen use measuring tape, or a ruler when the project is smaller, but there are many other alternatives that can be used as well. To mention some, calipers are really handy to have in your…
No comments so far.
Be first to leave comment below.