
Drying wood
Tips and Tricks 15.07.2021 Jeff Richardson 0

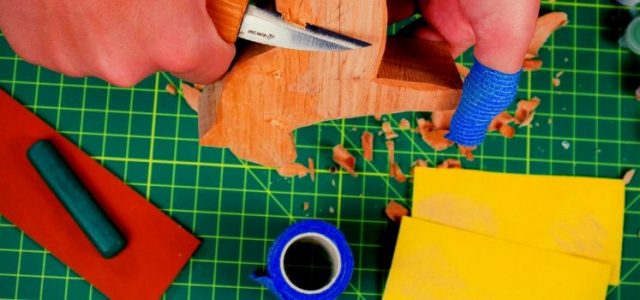
Today we are going to talk about Drying Wood methods. For sure, best of all to use a special wood kiln or buy ready-dried lambs, but it may add additional expenses that we carvers are trying to avoid. (Right storage of wood carving tools will help you to decrease your expenses as well). So here we share the easiest ways to dry wood.
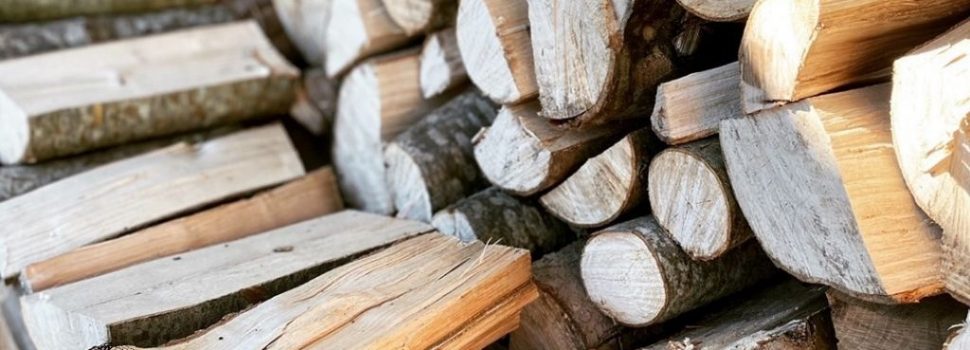
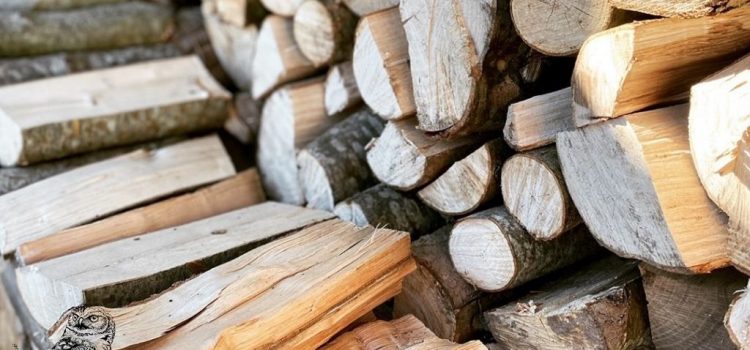
Any craftsman knows that even well-finished untreated wood tarnishes over time and is difficult to finish. Such wood is then difficult to sand, and varnish and colorful coatings on it crack and crumble. Products made from raw wood warp and become covered with deep cracks that arise due to uneven drying of its layers (the fact is that during drying, the upper layers of lumber dry out and decrease in volume faster than the inner ones). Especially it’s a big problem for spoon or bowl carving.
Any wood contains a certain percentage of moisture. And the last should be removed so that the wood does not warp. It is necessary to harvest wood in late autumn or winter. At this time, there is a minimum of moisture in it, it cracks less, and the master only has to dry it out. There are many drying methods, but we are going to look at two of them:
- air drying method;
- drying wood in an oven.
Air Drying Method
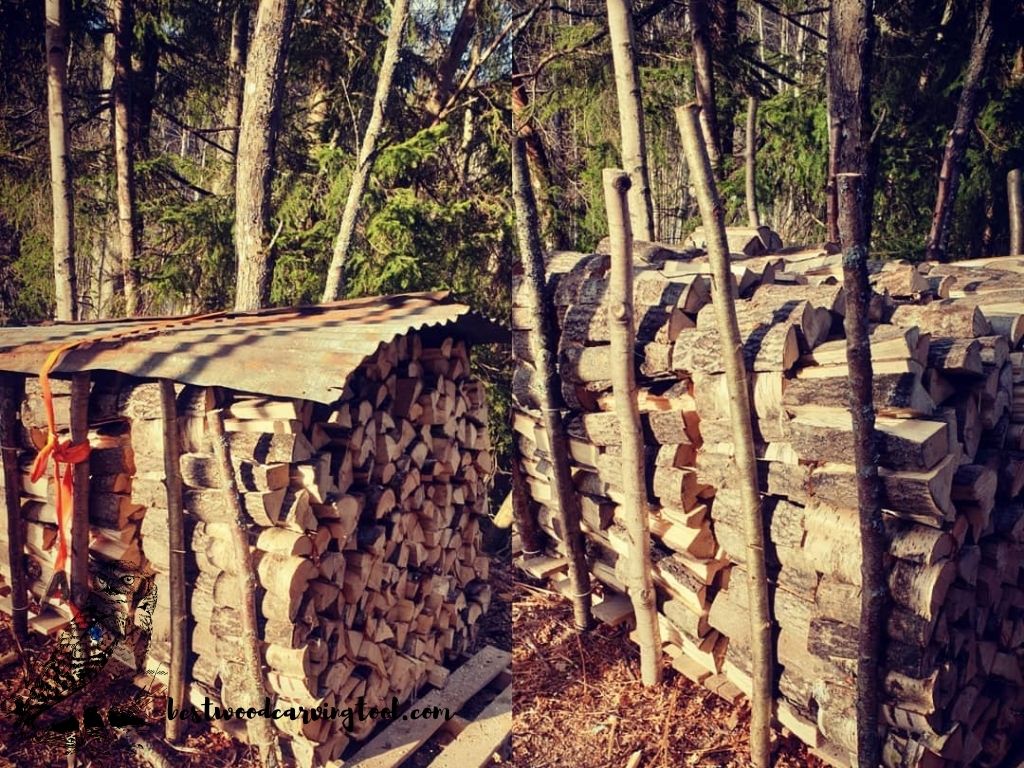
Drying wood in the air is simple and affordable. When you have prepared the wood (sealed the ends, split the log in half and removed bark if it peels off), follow the next steps:
Step1. Determine the percentage of moisture in your wood. You can do it with a wood moisture meter. The maximum allowable amount of moisture in wood is 7%.
Step 2. Prepare a drying area. The lumber is stacked under a canopy, protecting it from rain and direct sunlight. An even base is prepared under the canopy, for which bars, logs, thick pipes or slats are used, on which the boards will be laid across.The distance from the bottom layer of the boards to the ground should be at least 30 cm. Thus, air will get to the wood from the ground, while moisture will not.
Step 3. Lay the boards on the prepared base. Leave about an inch of space in between each piece of wood, so that the air could flow and make it dry faster.
Step 4. When one row of boards is ready, you can proceed to the next. However, they cannot be stacked one on top of the other, so a base of wooden blocks is prepared for each row, leaving a space between them sufficient to form an air flow.
How to Dry Wood in an Oven
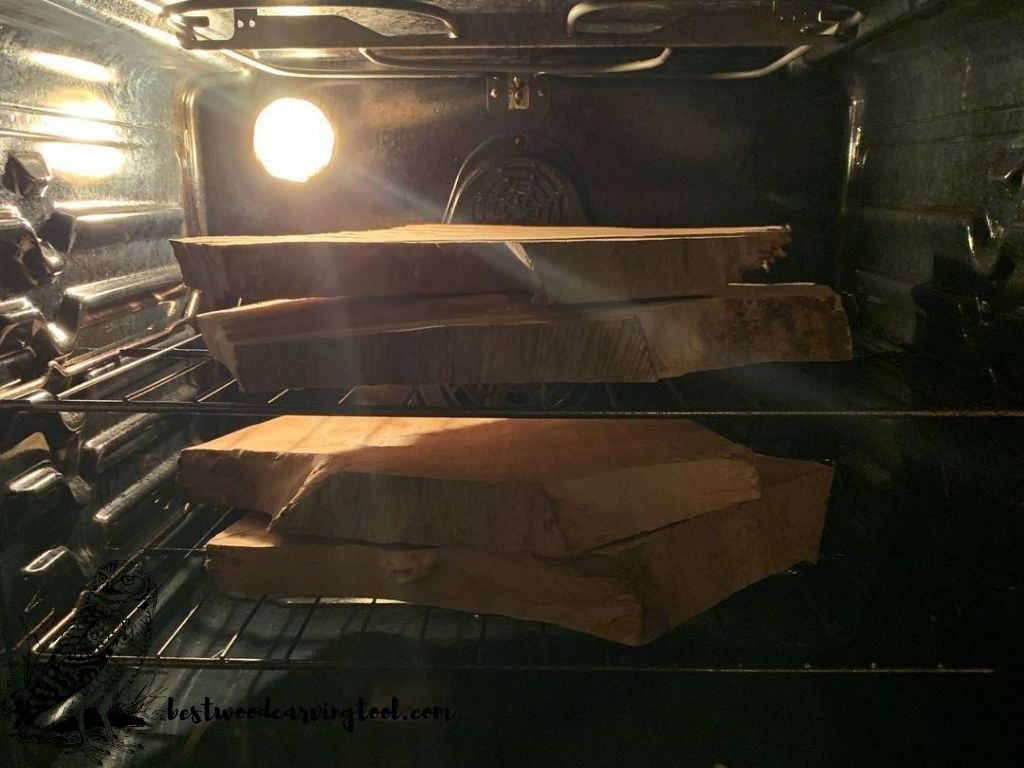
If you need to dry small pieces of wood at home, an ordinary kitchen oven will help you. To do this, follow the simple 4 steps. Don’t forget about safety.
Step 1. Prepare the oven:
- take the racks that fit your pieces of wood and provide sufficient air circulation and put it in the center;
- preheat the oven (we need 200-225 degrees F);
- if there is a convection fan in your oven – turn it on;
Step 2. Place the wood in the oven:
- lay the pieces of wood on the center rack so that it does not touch each others;
- make sure that small pieces of wood do not fall off (as a safety precaution you can place a tray on the bottom rack);
Step 3. Drying:
- As a rule, wood needs about an hour to dry completely. However, it all depends on the size of the wood and how much moisture it originally contained. Therefore, it is best to monitor the process every 10-15 minutes.
- Using an oven mitt, remove a piece of wood from the oven and check it with a moisture meter. If it is not dry enough, return it to the oven for 10-15 minutes.
Step 4. Make it cool and dry:
- remove all wood from the oven using baking gloves;
- place in a dry and protected place until it cools down. Make sure the logs do not catch fire;
- when the wood has cooled, check the moisture content. If it is not dry enough, repeat all steps again until you get the desired result.
Jeff Richardson Editor
Passionate about wood carving since high school. Always been able to relax while carving. 7 years ago, I decided to dedicate my whole time to wood carving; this is when I started my blog. I am a fan of DIY, fitness, and crafts. Also, I love to spend time with my friends, carving something out of wood. I hope you enjoy my articles.
Related Posts
How to Choose Sandpaper for Your Wood Carving Projects?
Wood Carving Safety Tips for Beginners
Wood carving is a wonderful and very creative endeavor. However, it can be fraught with many dangers if you do not pay sufficient attention to the basics of safety. It is better to tell others about your hobby by showing off an incredible masterpiece made of wood, rather than showing…
No comments so far.
Be first to leave comment below.